I started testing bikes a little over a year ago, starting the adventure with an Urtopia Carbon One. Originally, I was testing smartphones and projectors (and still do), the change was radical but I have had bikes for as long as I remeber. The Urtopia Carbon One was a relatively civilized bike but subsequently, I stepped into the world of fat bikes with the brutal Lankeleisi X3000 Max, this was also a radical change. There is a world between these two types of bikes and I will try to fill it with my review of the Lankeleisi RV800 Plus. It's still a fat bike but of a more moderate size and power. It has everything on paper to attract a wider audience. If it goes on like this, I will end up testing a scooter, with my height (1m94) it's going to be something!
Offers
Official websiteI have a 4% reduction coupon applicable in addition to existing promotions. So you get the lowest price for this bike while buying it from the official website:
Click on the following link and use the code lankeleisiLaurent4% in the basket to benefit from the reduction (around €95)
Lankeleisi RV800 Plus / Lankeleisi .fr
Important note: the official site offers a 3 year warranty compared to one year on other sites.
Video test
This video has an audio track in French but in principle YouTube should offer subtitles for other languages. If you want to watch this video on YouTube, you can use the following link:Lankeleisi RV800 Plus video test/review
Timeline
May 21, 2024: order Lankeleisi RV800 Plus on the official Lankeleisi websiteMay 25, 2024: I received a notification that the bike was on its way
May 30, 2024: I received the bike, all I have to do now is have a day without rain to start the test.
If you visit this page before the end of the test, do not hesitate to ask your questions at the bottom of the page.
Technical sheet
Motor: Bafang 48V 750 wattsBattery: Smasung 21700 48V 20Ah
Suspension: front fork and oil spring, rear pressure suspension
Frame: aluminum alloy
Weight: 35kg
Torque: 70nm
Max speed (restricted): 25 km/h (max 52 km/h once unrestricted)
Charging time: 6 to 7 hours
Wheel type: 26 inches (4 inches width)
Crankset: 46T
Brakes: hydraulic discs
Shifting: Shimano TZ20-7 (7 speed)
Derailleur: 11-28T (Shimano)
Unpacking/Assembly
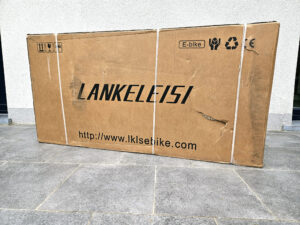
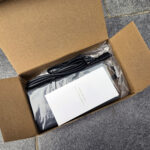
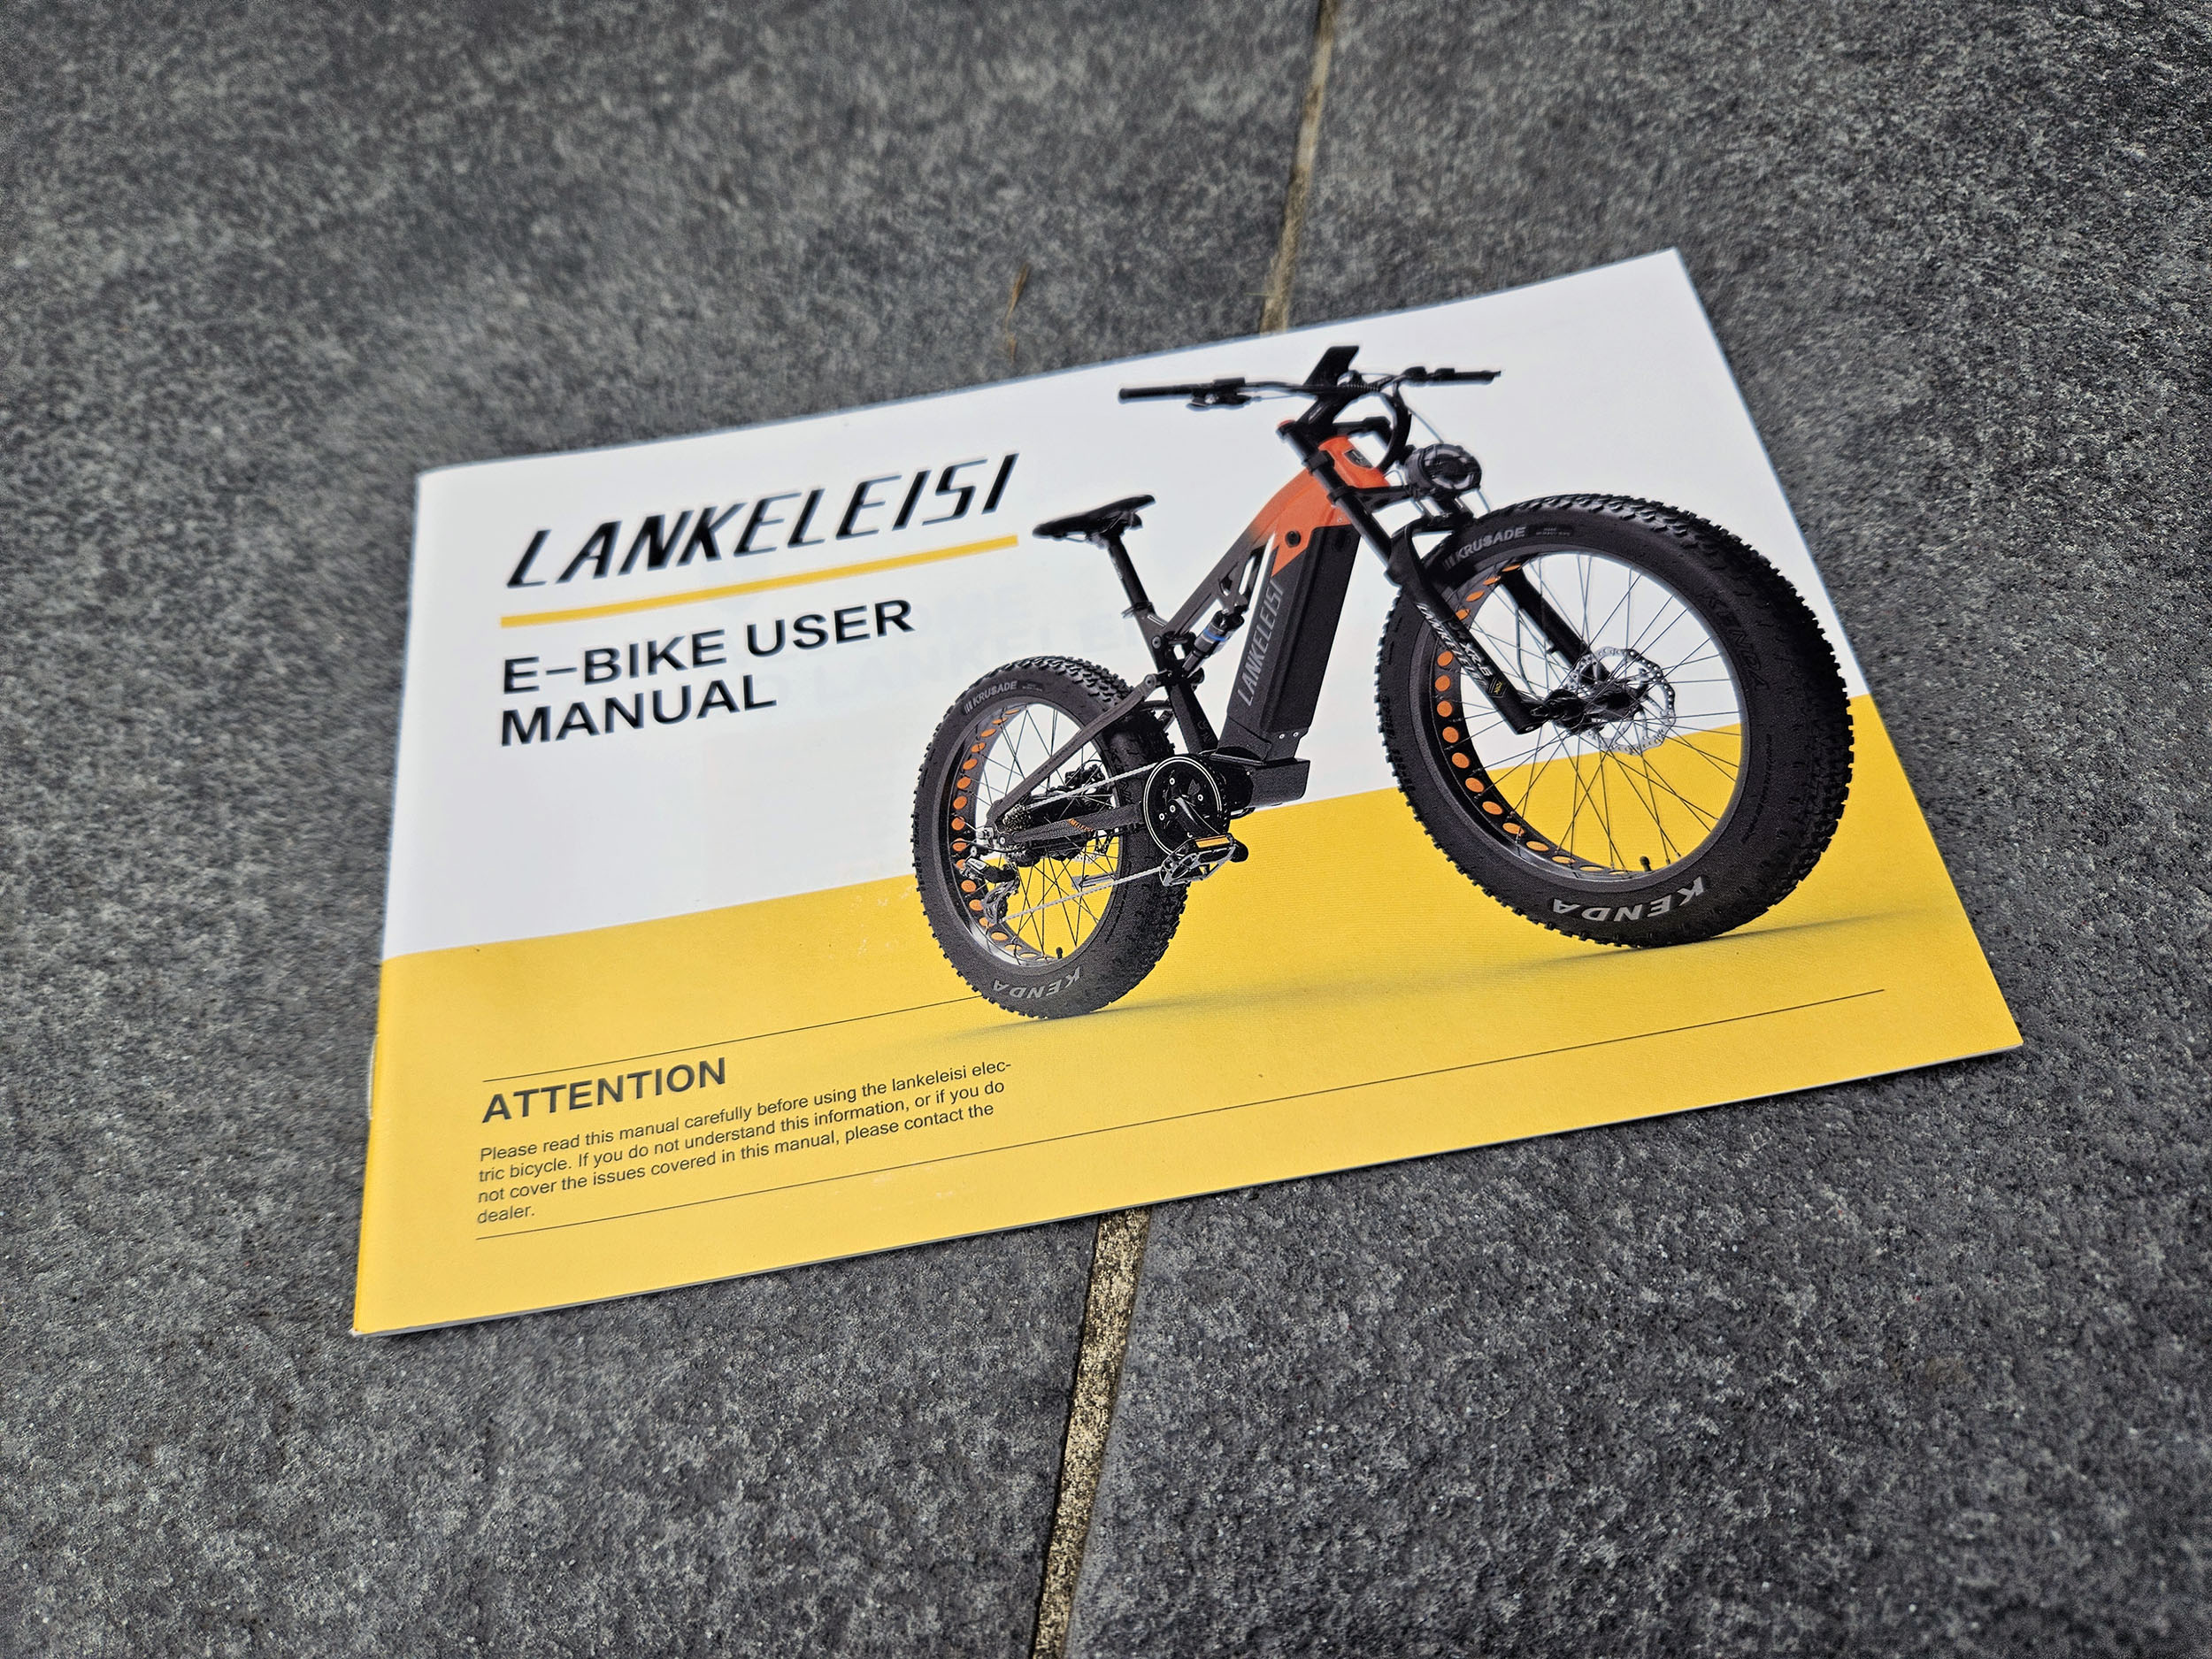
The Lankeleisi RV800 Plus box is quite large and quite heavy too, it weighs close to 40 kg. The bike is largely already assembled, you need to adjust the suspensions, add the front wheel, pedals, handlebars and accessories. I will detail each step below, the manual is only in English and the photos are quite small so my assembly journey might be useful to you. The manual on the official site is unavailable (page not found) so this is another reason to detail the assembly on my page.
Step 1: unboxing
This may seem obvious, but the first step is to take the bike out of its box and prepare it for assembly. This is undoubtedly the easiest step but not the shortest, the bike is very well packaged and I filled half a garbage bag with the plastic waste.
Remember to place a soft surface (e.g. foam) under the bike to mount it, this will prevent you from scratching it during assembly.
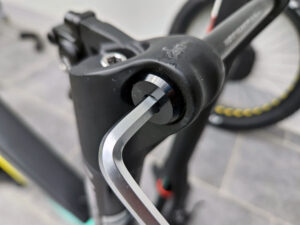
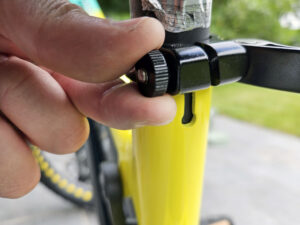
Step 2: suspension/fork
Loosen 4 screws at the suspension, there is one at each end of the fork and one lower down. The aim of this operation is to free the suspension tube, you do not have to completely remove the screws, you just have to loosen them to be able to reassemble the tubes.
Basically the bike is in this position:
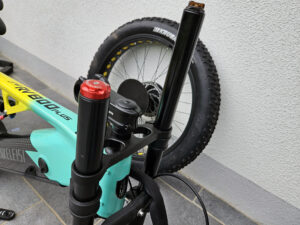
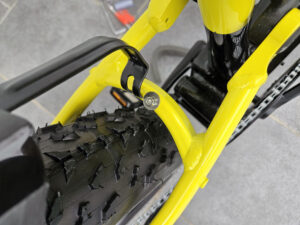
You must reassemble the suspension support to match the top of the suspension tube with the upper clamping ring as in this photo:
When you match the top of the tube with its support (on each side), you need to tighten the 4 screws that you loosened in the previous step.
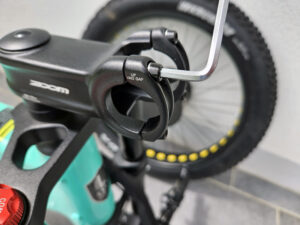
Step 3: handlebars
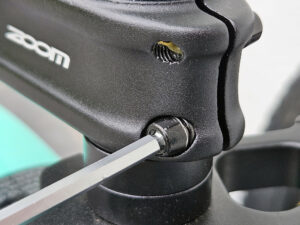
The handlebar support is mounted upside down for transport, so you must start by putting it back in the right direction by loosening the two screws located opposite to where the handlebar will be housed.
You will then be able to turn the support in this direction:
You have to make sure that everything is in the right direction to avoid having slightly crooked handlebars. I suggest sliding one of the keys as follows to have perfect alignment between the frame and the support.
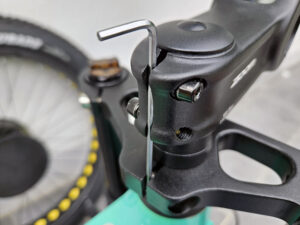
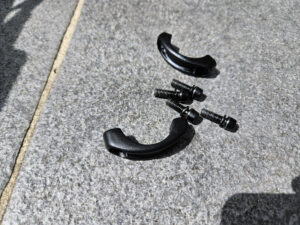
Then unscrew the 4 screws to release the handlebar support
You will thus obtain two semi-circles and the 4 screws
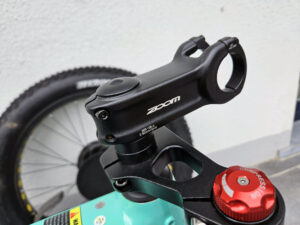
Raise the handlebars to position them in the correct direction
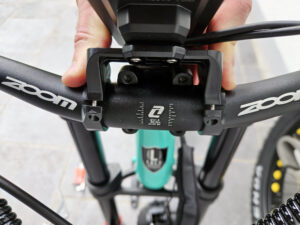
Use the graduated mark to place the handlebars in the middle of the axle and choose a tilt that will suit your riding style.
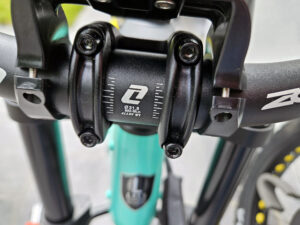
Then tighten the 4 screws to secure the handlebars
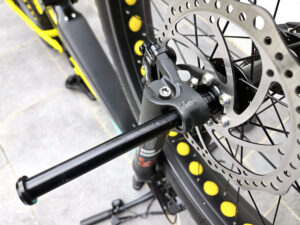
Step 4: front wheel
The bike must be in a supine position.
You must remove the tube joining the two parts of the fork:
Slide the wheel in its axle to match the disc brake with its support and replace the tube and then tighten it well.
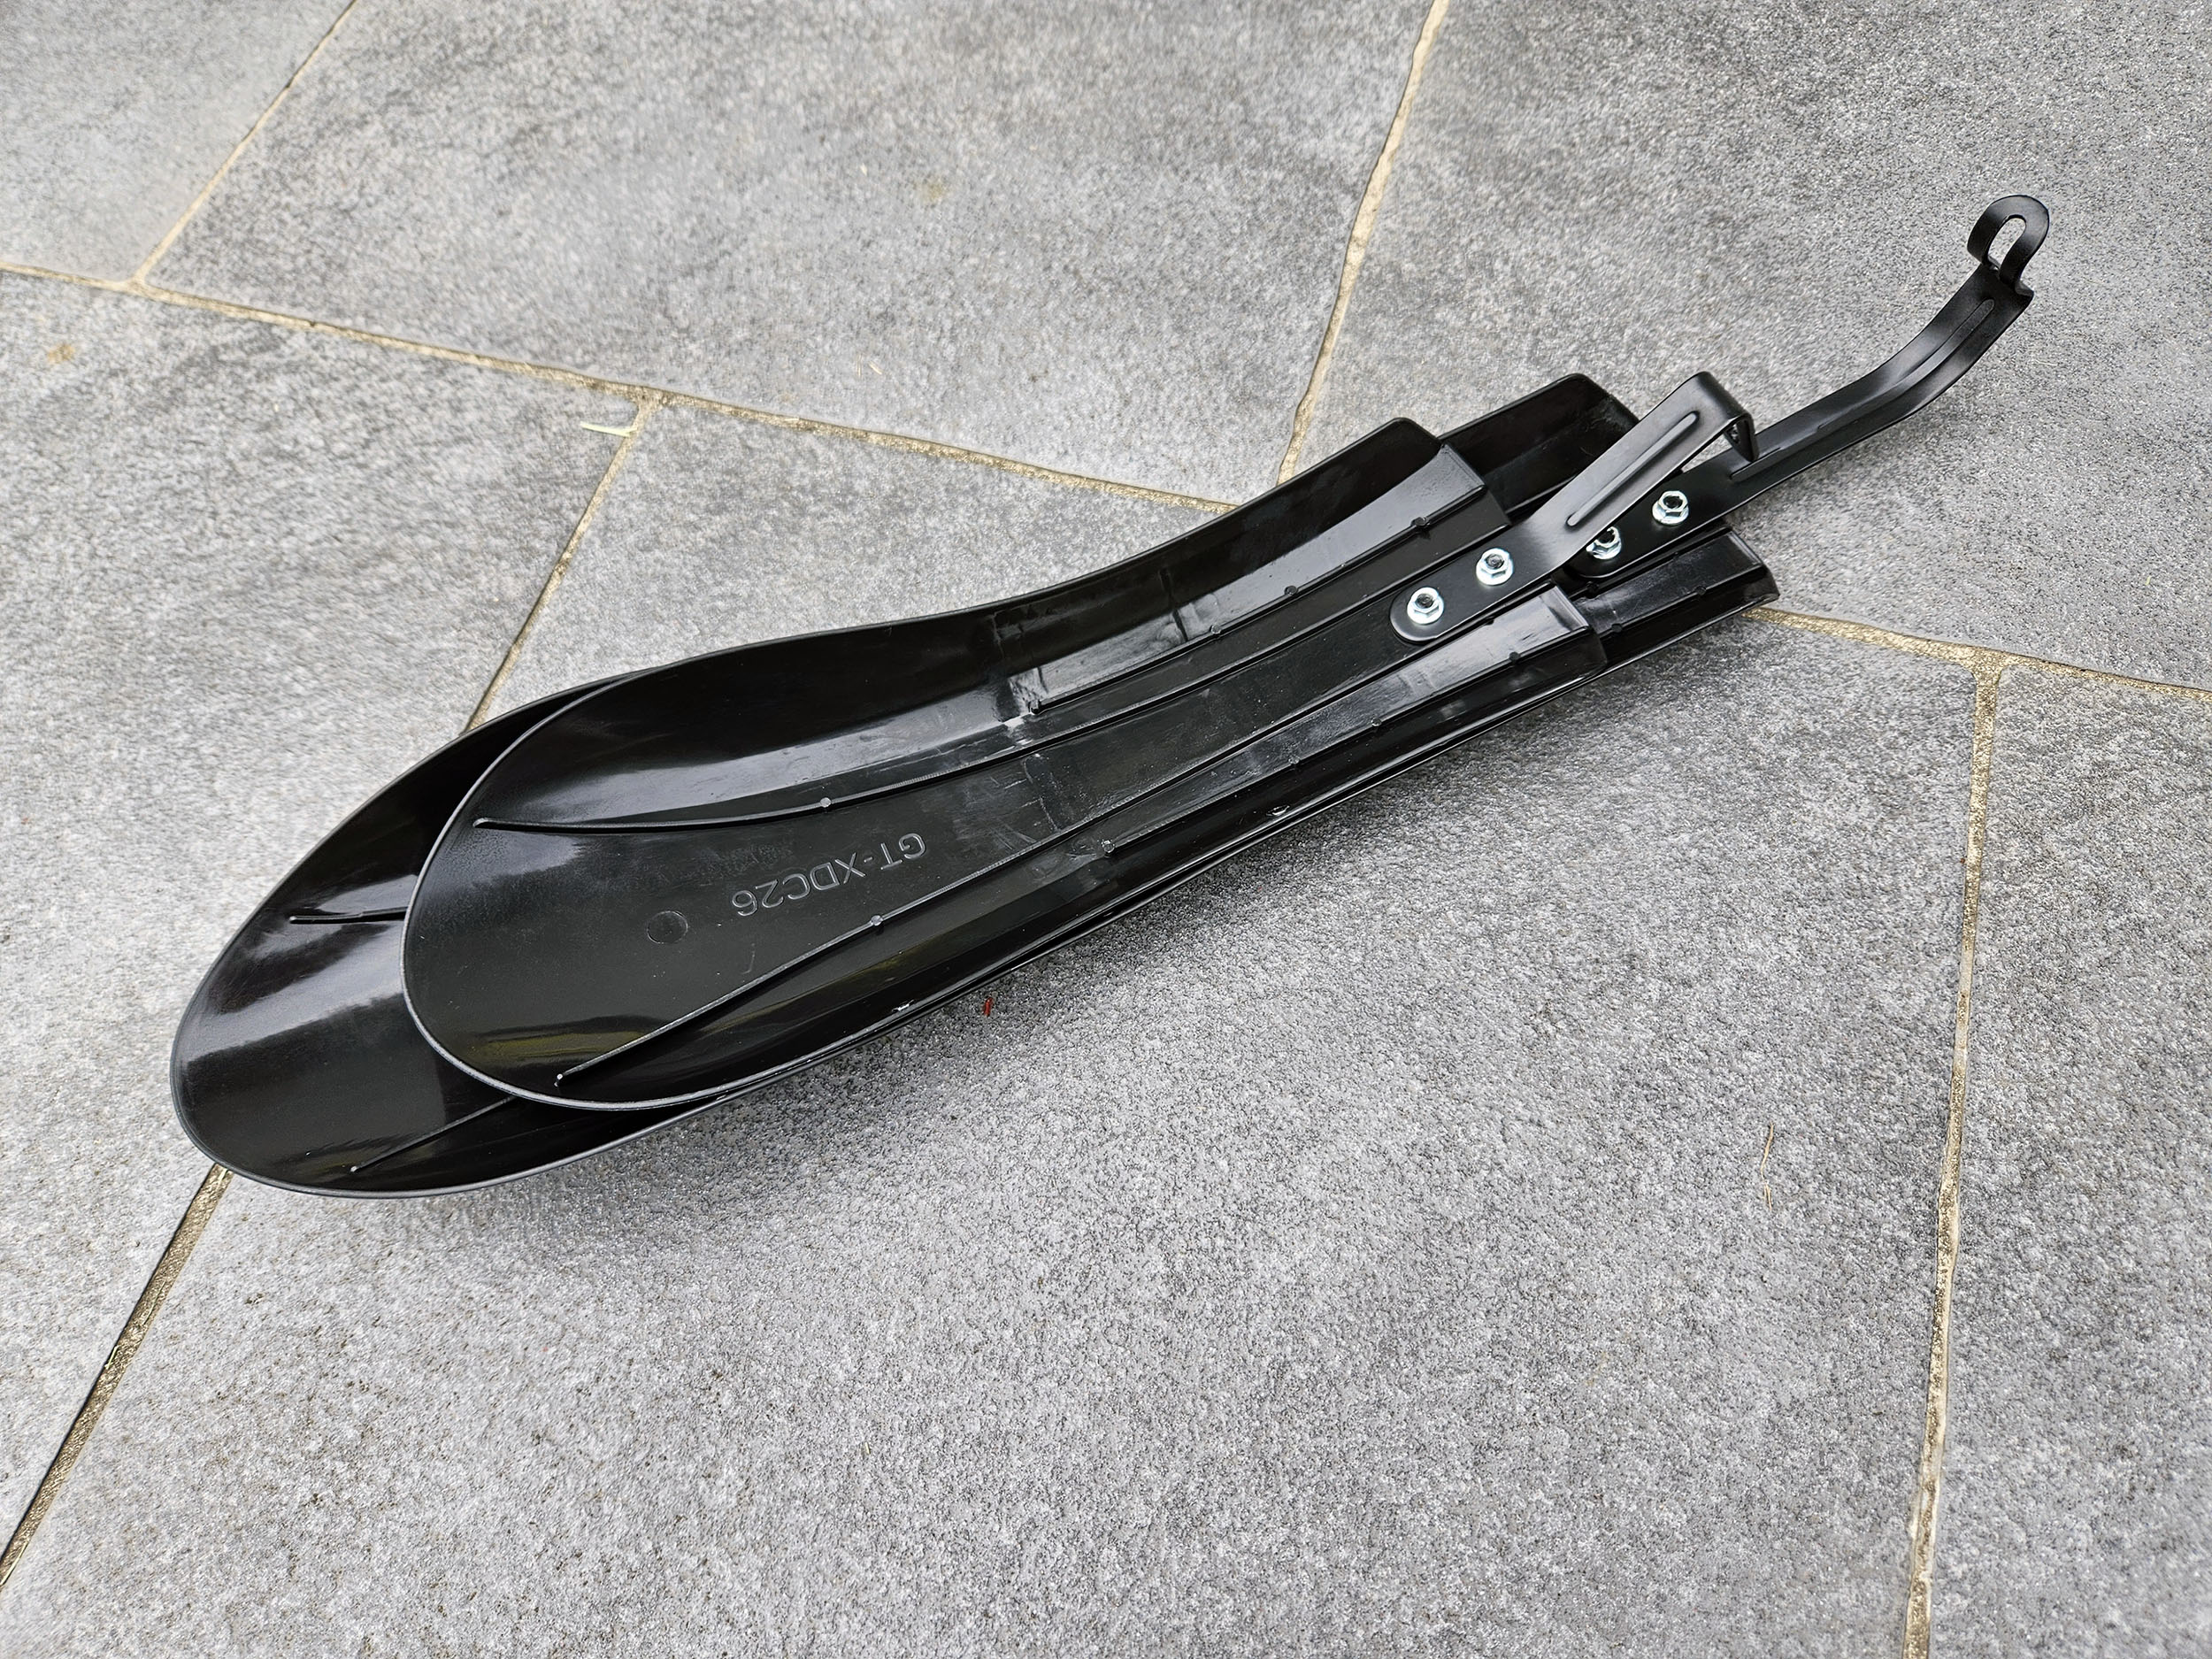
Step 5: lamp and mudguard
Unscrew the screw located at the intersection of the two forks:
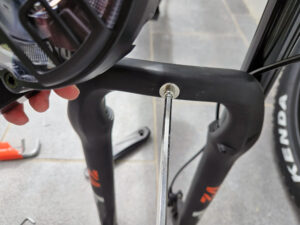
Place the lamp in its axis to match the hole with that of the screw
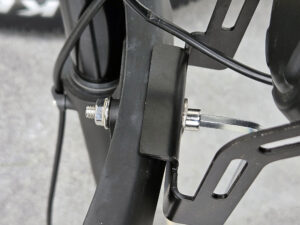
The manual does not mention attaching the front fender (the smaller of the two) in this step because the fender is attached to the same screw.
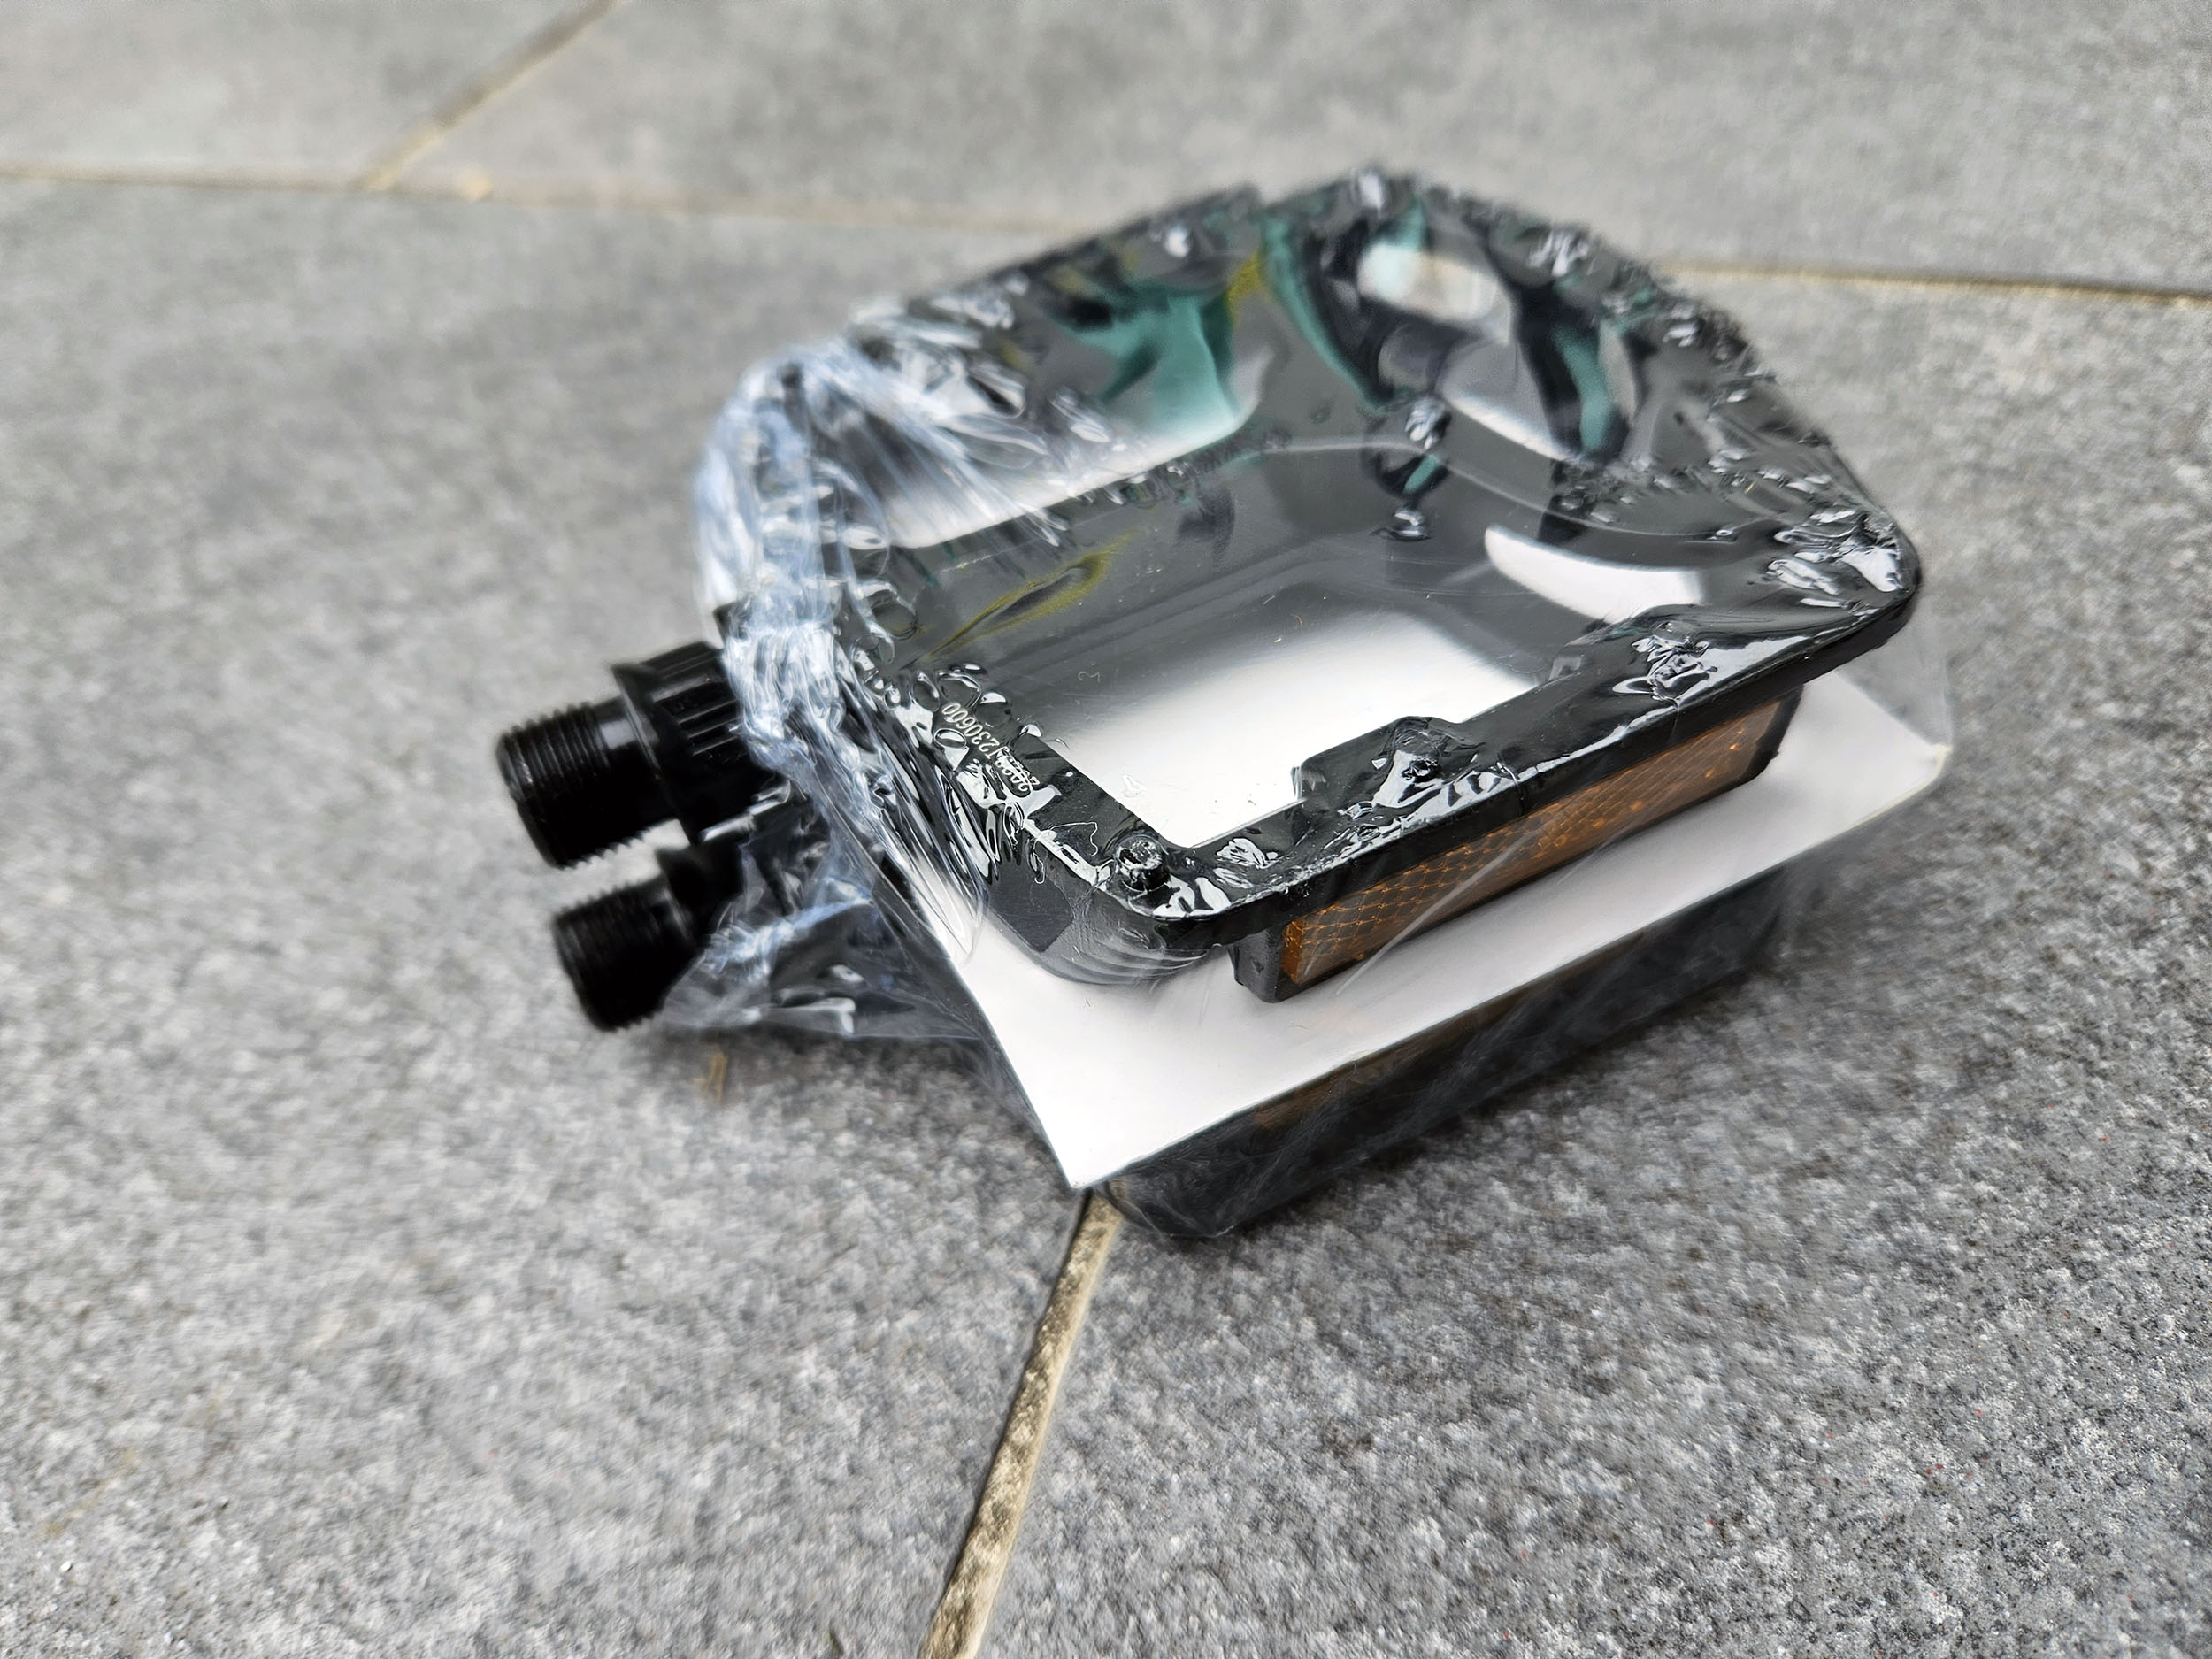
Step 6: pedals
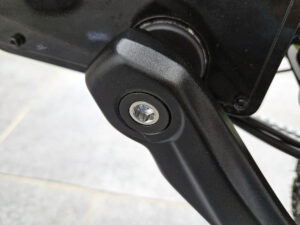
The left pedal is not fixed on the bike, this step is missing in the manual too but it's not complicated. You need to unscrew the pedal axle screw:
Remember to keep the plastic cover because you will use it in the next step. Install the pedal in its axis (opposite to the other pedal).
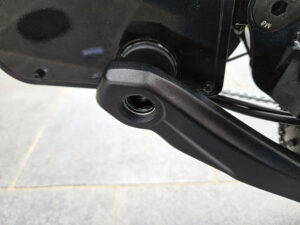
Tighten the screw and add the plastic cover
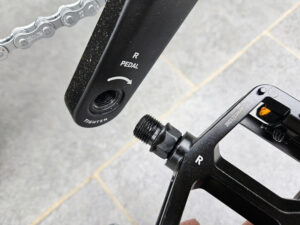
Then attach the two pedals, making sure to match the letters L (left) and R (right)
Step 7: the saddle
The saddle is held by a tightening ring, you must therefore start by loosening it
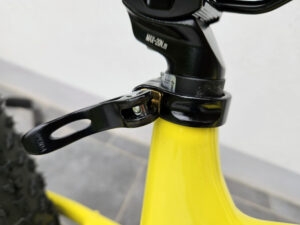
Choose the saddle height that suits you. A line marks the maximum limit. You should know at this stage that the rear suspension of the bike is stretched to the maximum when you are not sitting on it, so it is better to adjust the saddle height by pressing on the suspension. Then adjust the clamp screw on the other side. Don't go all the way because you still need to be able to close the clamp ring on the other side.
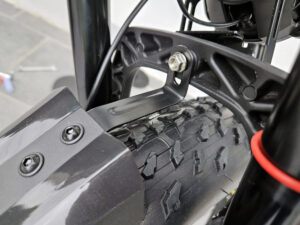
Step 8 rear fender
There is a screw at the intersection of the frame at the rear to mount the mudguard. Be careful not to move it too far from the red because you risk hitting it every time you get on the bike.
The battery is already installed and charged, so you can start using the bike after step 8.
Presentation
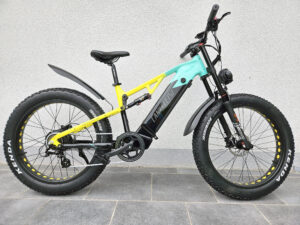
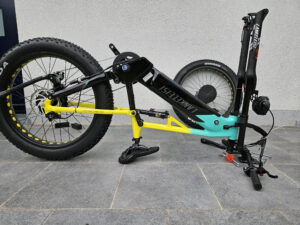
Frame
The Lankeleisi RV800 Plus is a fat bike with a triangular frame leaning backwards and therefore with a high position for the handlebars. This setup is arguably designed for trail riding and standing up on the bike.
You will never be able to achieve a perfectly horizontal axis because the saddle height does not allow you to return to balance, it is here at the maximum. Add to that that the rear suspension will lower with your weight, the difference between the front and the rear will therefore increase. This is not a problem in itself, you just need to understand why this bike was designed.
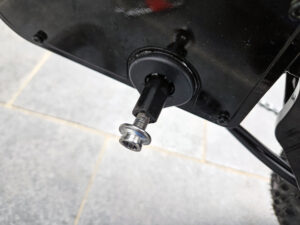
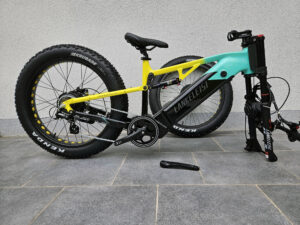
The frame is made of aluminum and is fixed, you do not have to bend it to remove the battery.
The frame is not delicate with its large welds but the use of paint and colors allows you not to pay attention to them.
The frame is not foldable, you have to use the keys to unlock the battery and take it out through the bottom of the frame, it is much more practical than having to fold the bike to dislodge the battery.
The bike is quite heavy, it weighs 35 kg, so the power of the engine will play a big role in the comfort and ease of riding. The motor is a single 750 watt motor capable of delivering up to 1130 watts nominal, I will come back to this point later in the test.
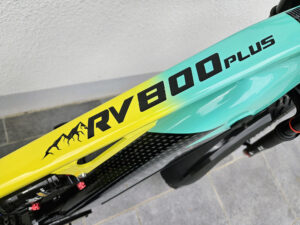
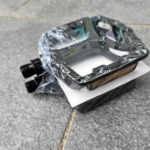
I had a little doubt about the color of this bike because the mix of cyan, yellow and black didn't seem the most appropriate to me but I was wrong, the combination is really pretty.
The paint looks like the paint on a car body which reflects light well. It's difficult to describe but I have the impression of having a car in front of me that has come straight from a showroom.
These colors are not discreet but I think even without these colors this bike would not be discreet anyway.
When I left my house for the first time with the bike, I went 20 meters before being stopped by a neighbor who wondered what kind of bike I was testing. My neighbors are used to seeing me on different bikes, this is the first time a bike has attracted their attention so much.
The bike is not discreet but everyone who has seen it so far has found the bike quite nice. I'm basically more attracted to road bikes but I'm of the same opinion, this bike is really pretty.
Suspension
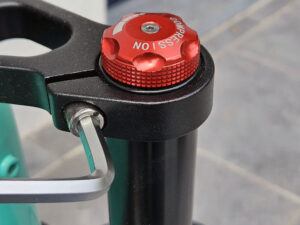
The front suspension is a fairly standard adjustable suspension, I think it's the same suspension as the Lankeleisi X3000 Max that I tested earlier this year. You can adjust the firmness of the suspension with the red button.
The front suspension is a fairly classic suspension with the possibility of adjusting the firmness depending on the type of terrain.
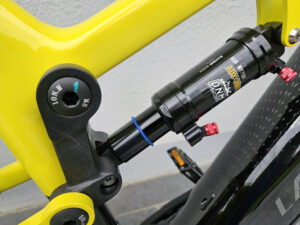
The rear suspension, on the other hand, offers much better comfort than what I have been able to test so far. This suspension offers good resistance to weight which allows it to solidly absorb road shocks.
The firmness of this suspension can also be adapted according to your preferences. The firmness will also determine how much the bike will lower when you sit on the saddle.
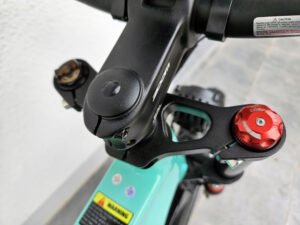
Handlebar
The handlebars are positioned high enough to make it easier to get into a standing position when riding off-road. If you remain seated, your arms will be higher and your posture will be straighter as a result.
I am used to riding a racing bike, it is an unusual position for me which has the effect of relieving my back but I felt a contraction in the muscles at the neck because I did not have used to having your head in this position.
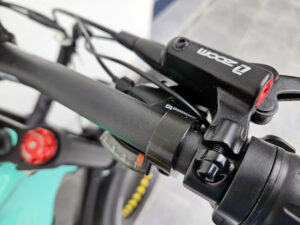
The brakes are reversed, this was already the case with the X3000 Max, it's a matter of habit and I advise using both brakes at the same time because the rear brake is not powerful enough to stop the bike quickly enough.
The grips are wide enough for larger hands and this time I didn't really experience any issues with the throttle when using it by accident. It is less brutal and responsive than that of the Lankeleisi X3000 Max.
The gear change works impeccably, switching from one gear to another is done without delay or perceptible friction. I find that the positioning of the levers is not really optimal, the distance from the handle seems a little too great to me.
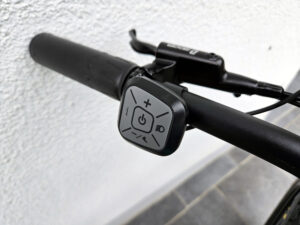
The control pad is the same as on most bikes of this type, I will come back to this part later in the test.
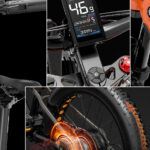
The screen is also identical in every way to the other models and I can therefore already say that the brightness problem will also be present on this bike. The screen turns into a mirror when the brightness is high and this makes the screen absolutely unreadable (except the speed).
Engine
The motor is a Bafang motor with 750 watts and 70 nm for torque with a maximum thrust of 1130 watts. Since the bike weighs more or less the same as the Lankeleisi X3000 Max but with significantly less power, assistance will therefore play a big role.
The motor is limited to 25 km/h but you can unrestrict it from the parameters, it can in theory run up to 50 km/h but in my opinion with my weight, the 750 watts will not be enough to take me to this speed.
To fully enjoy this bike, you need to understand how the assistance level works. You can adjust the assistance level from the console on the handlebars using the +/- buttons.
Level 0 of assistance obviously offers no assistance and without assistance...it's sport because you have to move a 35 kg bike.
With each next level you will increase the power level and speed
Level 1: 50% (max 22 km/h)
Level 2: 61% (max 30 km/h)
Level 3: 73% (max 38 km/h)
Level 4: 85% (max 46 km/h)
Level 5: 96% (max 55 km/h)
The difference is therefore very significant between level 0 and level 1 but afterward the growth in power is more or less linear.
Transmission
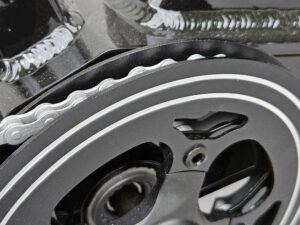
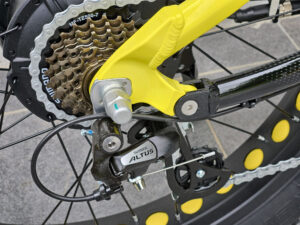
The Lankeleisi RV800 Plus is equipped with a 46-tooth crankset with a chain embedded in a channel to better keep it on its axis.
The cassette has 7 bearings from 11 to 28 teeth with a Shimano Altus derailleur.
With a 46x11 type configuration and 26-inch wheels, you obtain a distance of 8.3 meters with each pedal stroke and with a velocity of 70 revolutions per minute, you obtain a speed of 35 km/h...but to do 70 revolutions per minute, you are going to need assistance because this bike is too heavy to reach this speed naturally.
Wheels
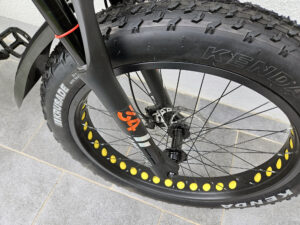
The wheels are 26-inch wheels with a thickness of 4 inches, so they are large tires to better absorb road shocks and avoid sinking too quickly.
These tires can handle a pressure of 30 psi. This may not seem like much compared to a normal bicycle tire, but it is more than sufficient for this type of tire.
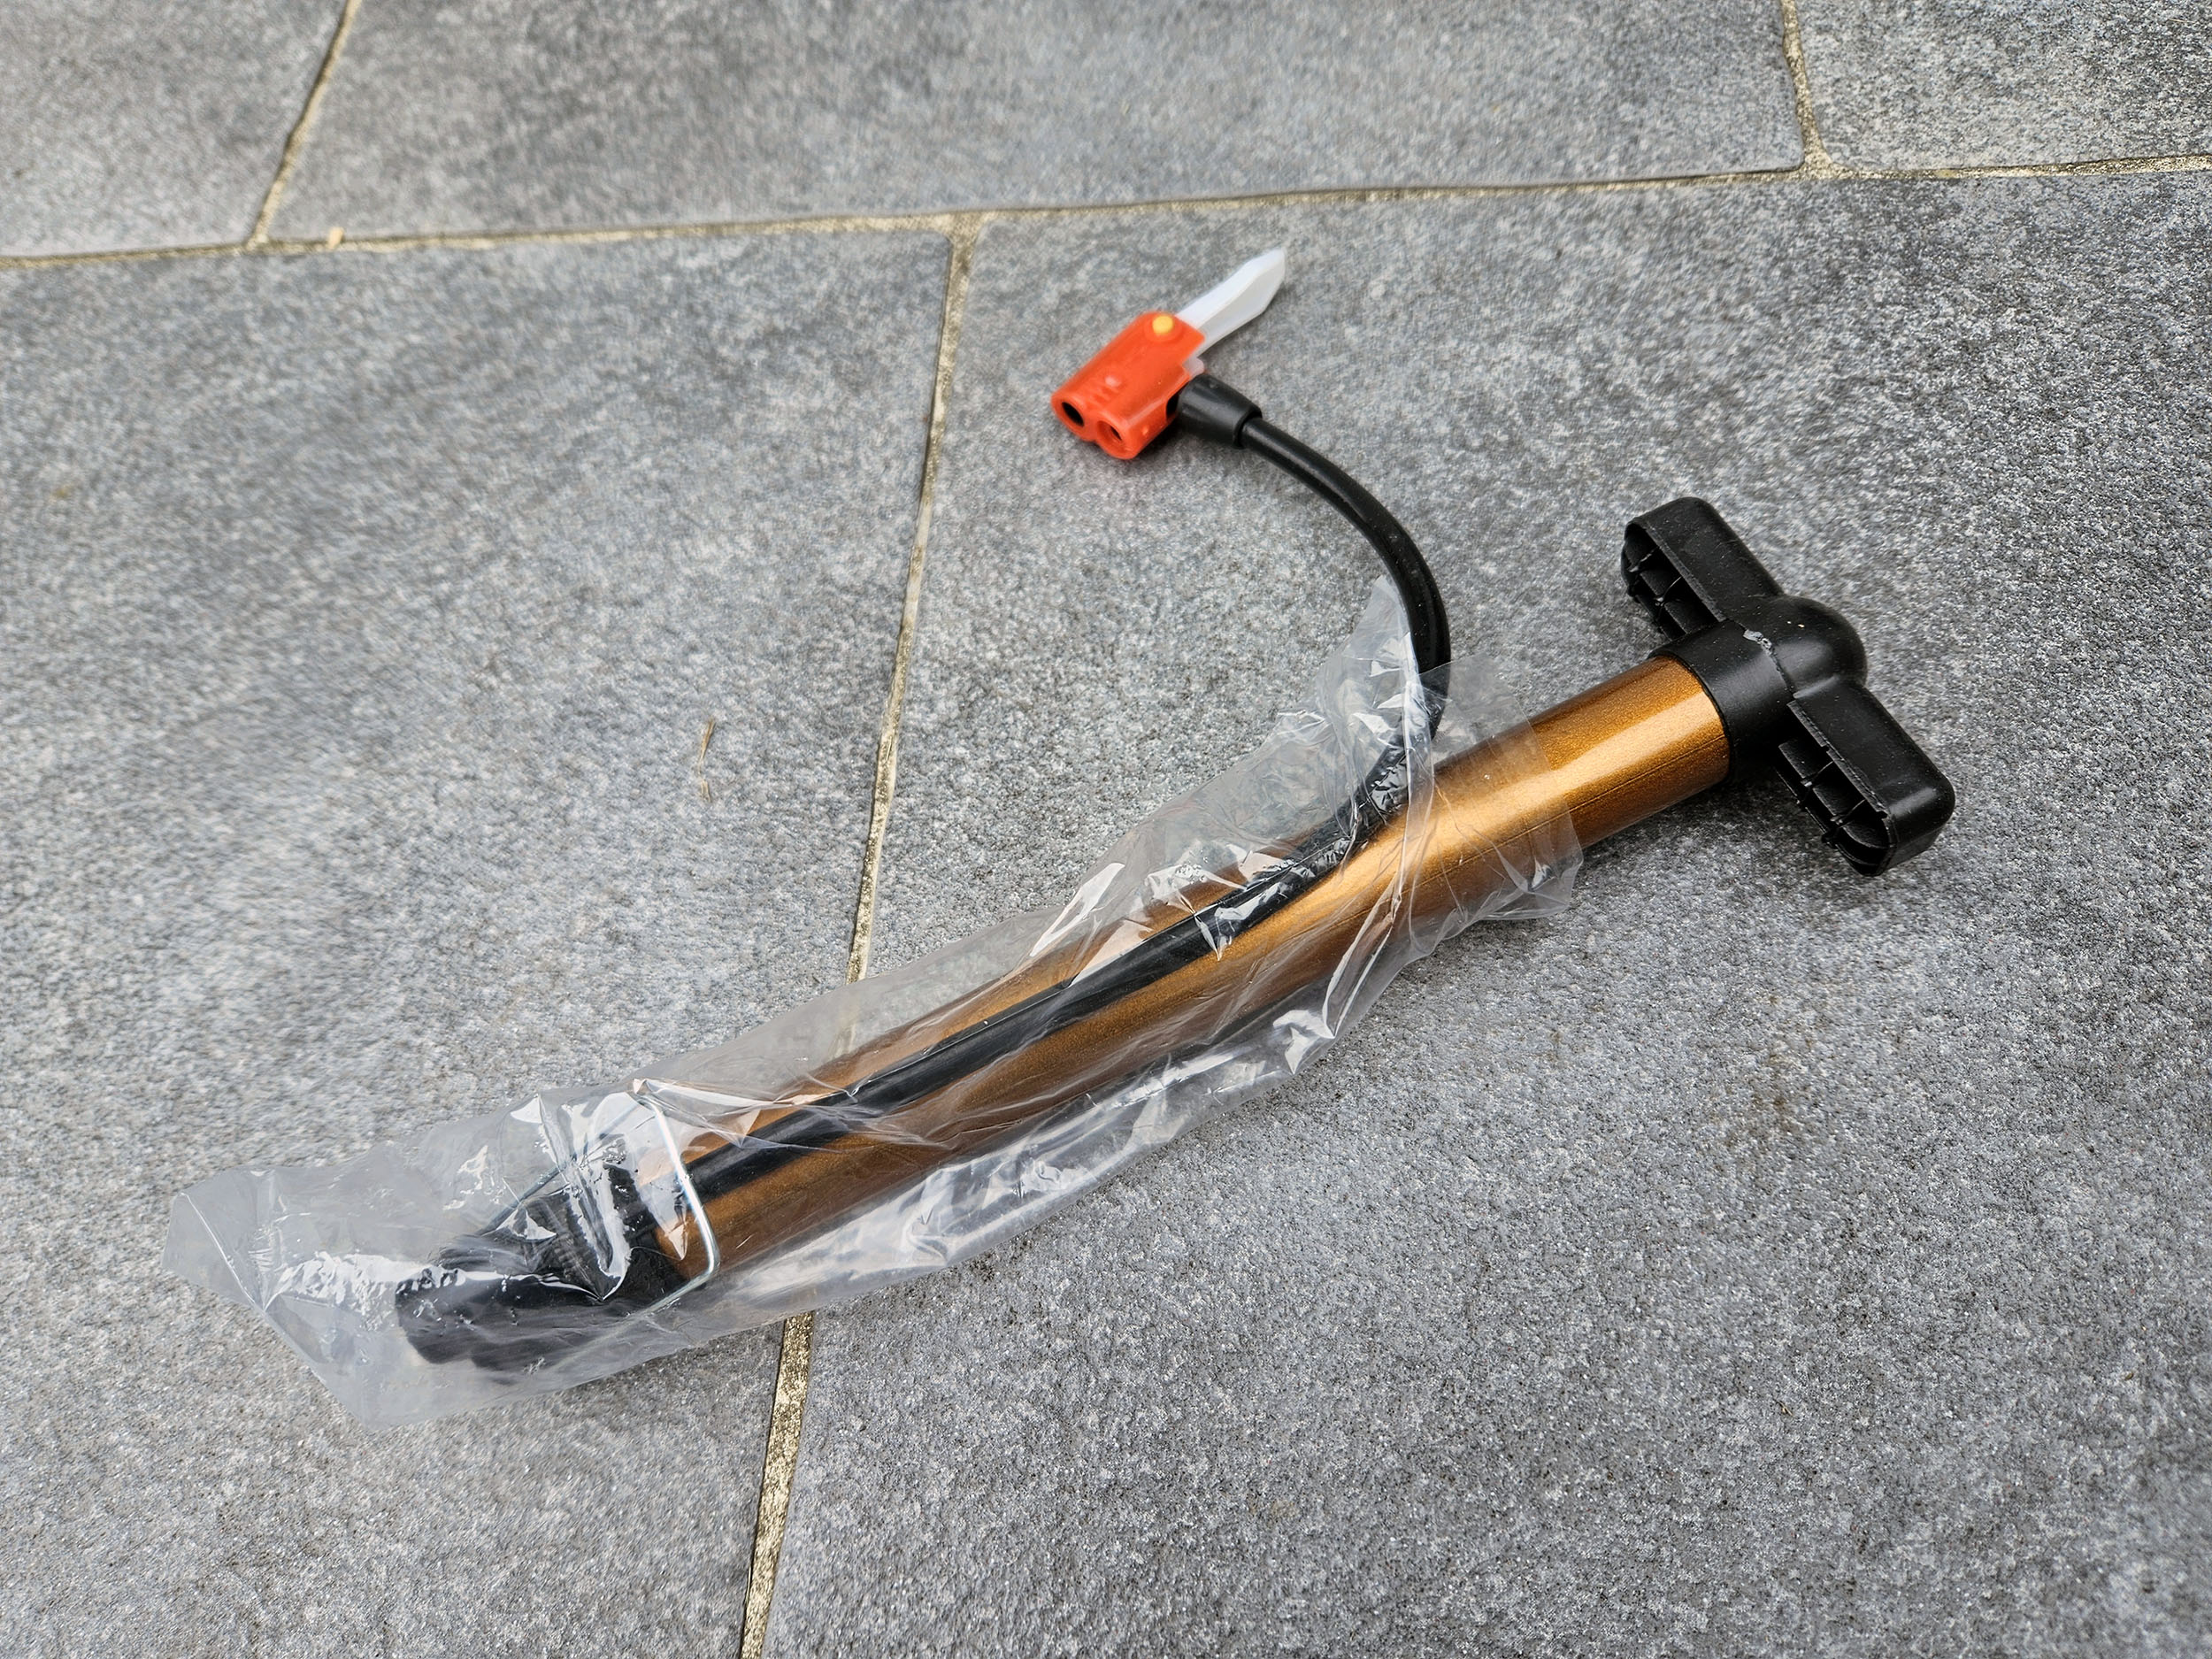
On the other hand, to inflate it to full pressure, you will need a good pump because the one supplied with the bike is a little weak to put the maximum pressure.
I inflated the tires to the maximum because I weigh 100 kg and I ride mainly on the road. If you ride more on trails, you will probably need to reduce the pressure a little.
Brakes
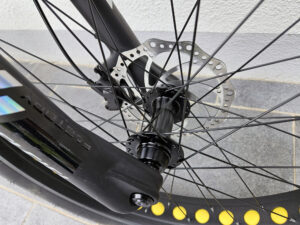
This bike is equipped with hydraulic disc brakes and the control on the handlebars is reversed. The left brake corresponds to the rear brake and the right brake corresponds to the front.
Saddle
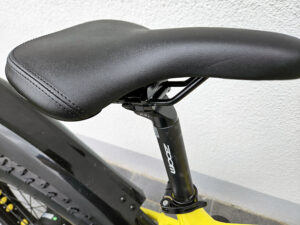
The saddle is significantly thinner than on the X3000 Max, it looks like a real saddle and not a cushion for the elderly. The seat tube is adjustable from the clamp but if you are tall you will probably find that it is missing a few centimeters.
I set the seat tube to the maximum level to get the best leg position but the pressure of my weight on the suspension made the bike go down a few centimeters. So I find myself with legs that are a little too bent to pedal comfortably. To maintain good leg position, I either have to adjust the suspension to firmer or stay upright while riding.
Battery
The battery is a lithium battery from Samsung with a capacity of 20 Ah which should in theory offer a range of 60 to 70 km in electric mode and full assistance and up to 150 km with partial assistance. I will come back to this point after having done more kilometers. The battery is removable but can be charged directly on the bike.
Screen/Electronics
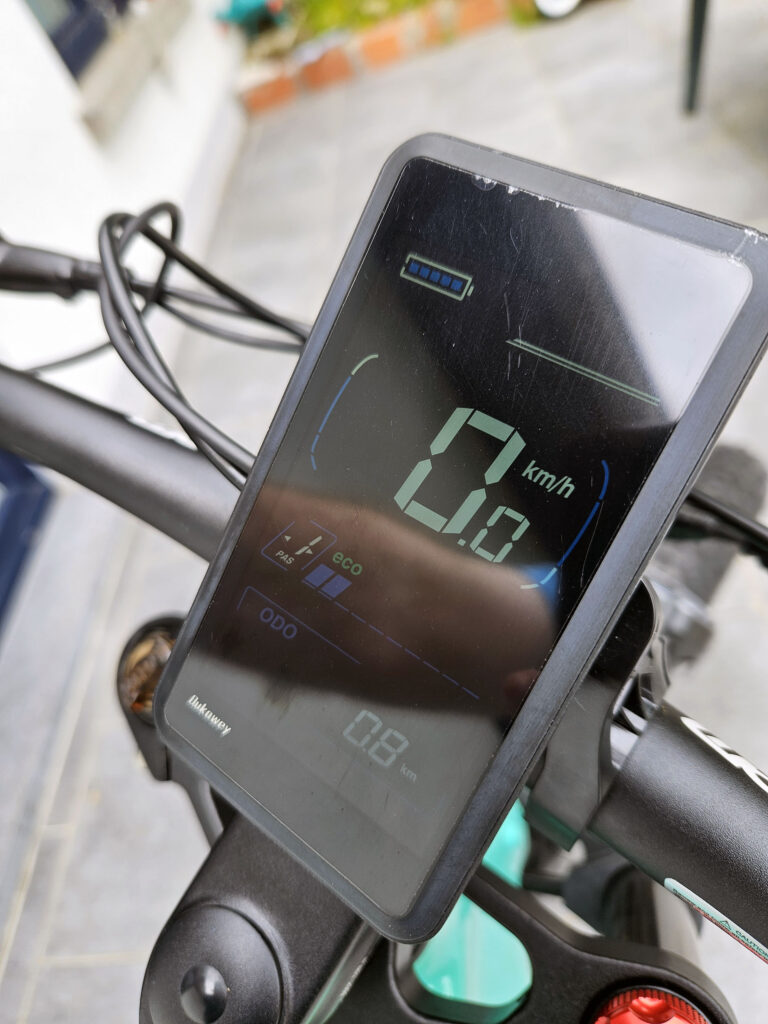
The screen obviously displays the most important information such as speed, assistance level, mileage, etc.
I took an image from the English manual to give more explanations on the indicators.
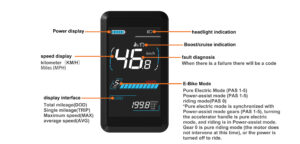
From top to bottom and left to right, I have this:
- battery indicator
- lighting indicator
- cruise indicator
- speed indicator or error code in case of problem
- assistance level indicator (1 to 5)
- type of display (total or partial mileage, max or average speed)
- display of the chosen indicator (mileage or speed)
It is not touch sensitive and the “Dukawey” indication at the bottom shows that Lankeleisi uses another brand's screens and uses them on pretty much all of their models.
My opinion on this screen can therefore be transposed to all bikes using the same screen. Its biggest weakness is its brightness, only the speed is really readable when the brightness is strong.
I don't live in the tropics, but if even the average brightness of Belgium makes the screen difficult to read, it must be much worse in the south of France.
Accessories
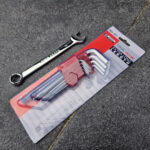
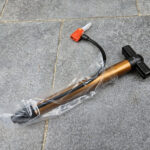
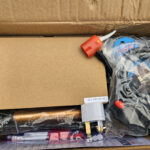
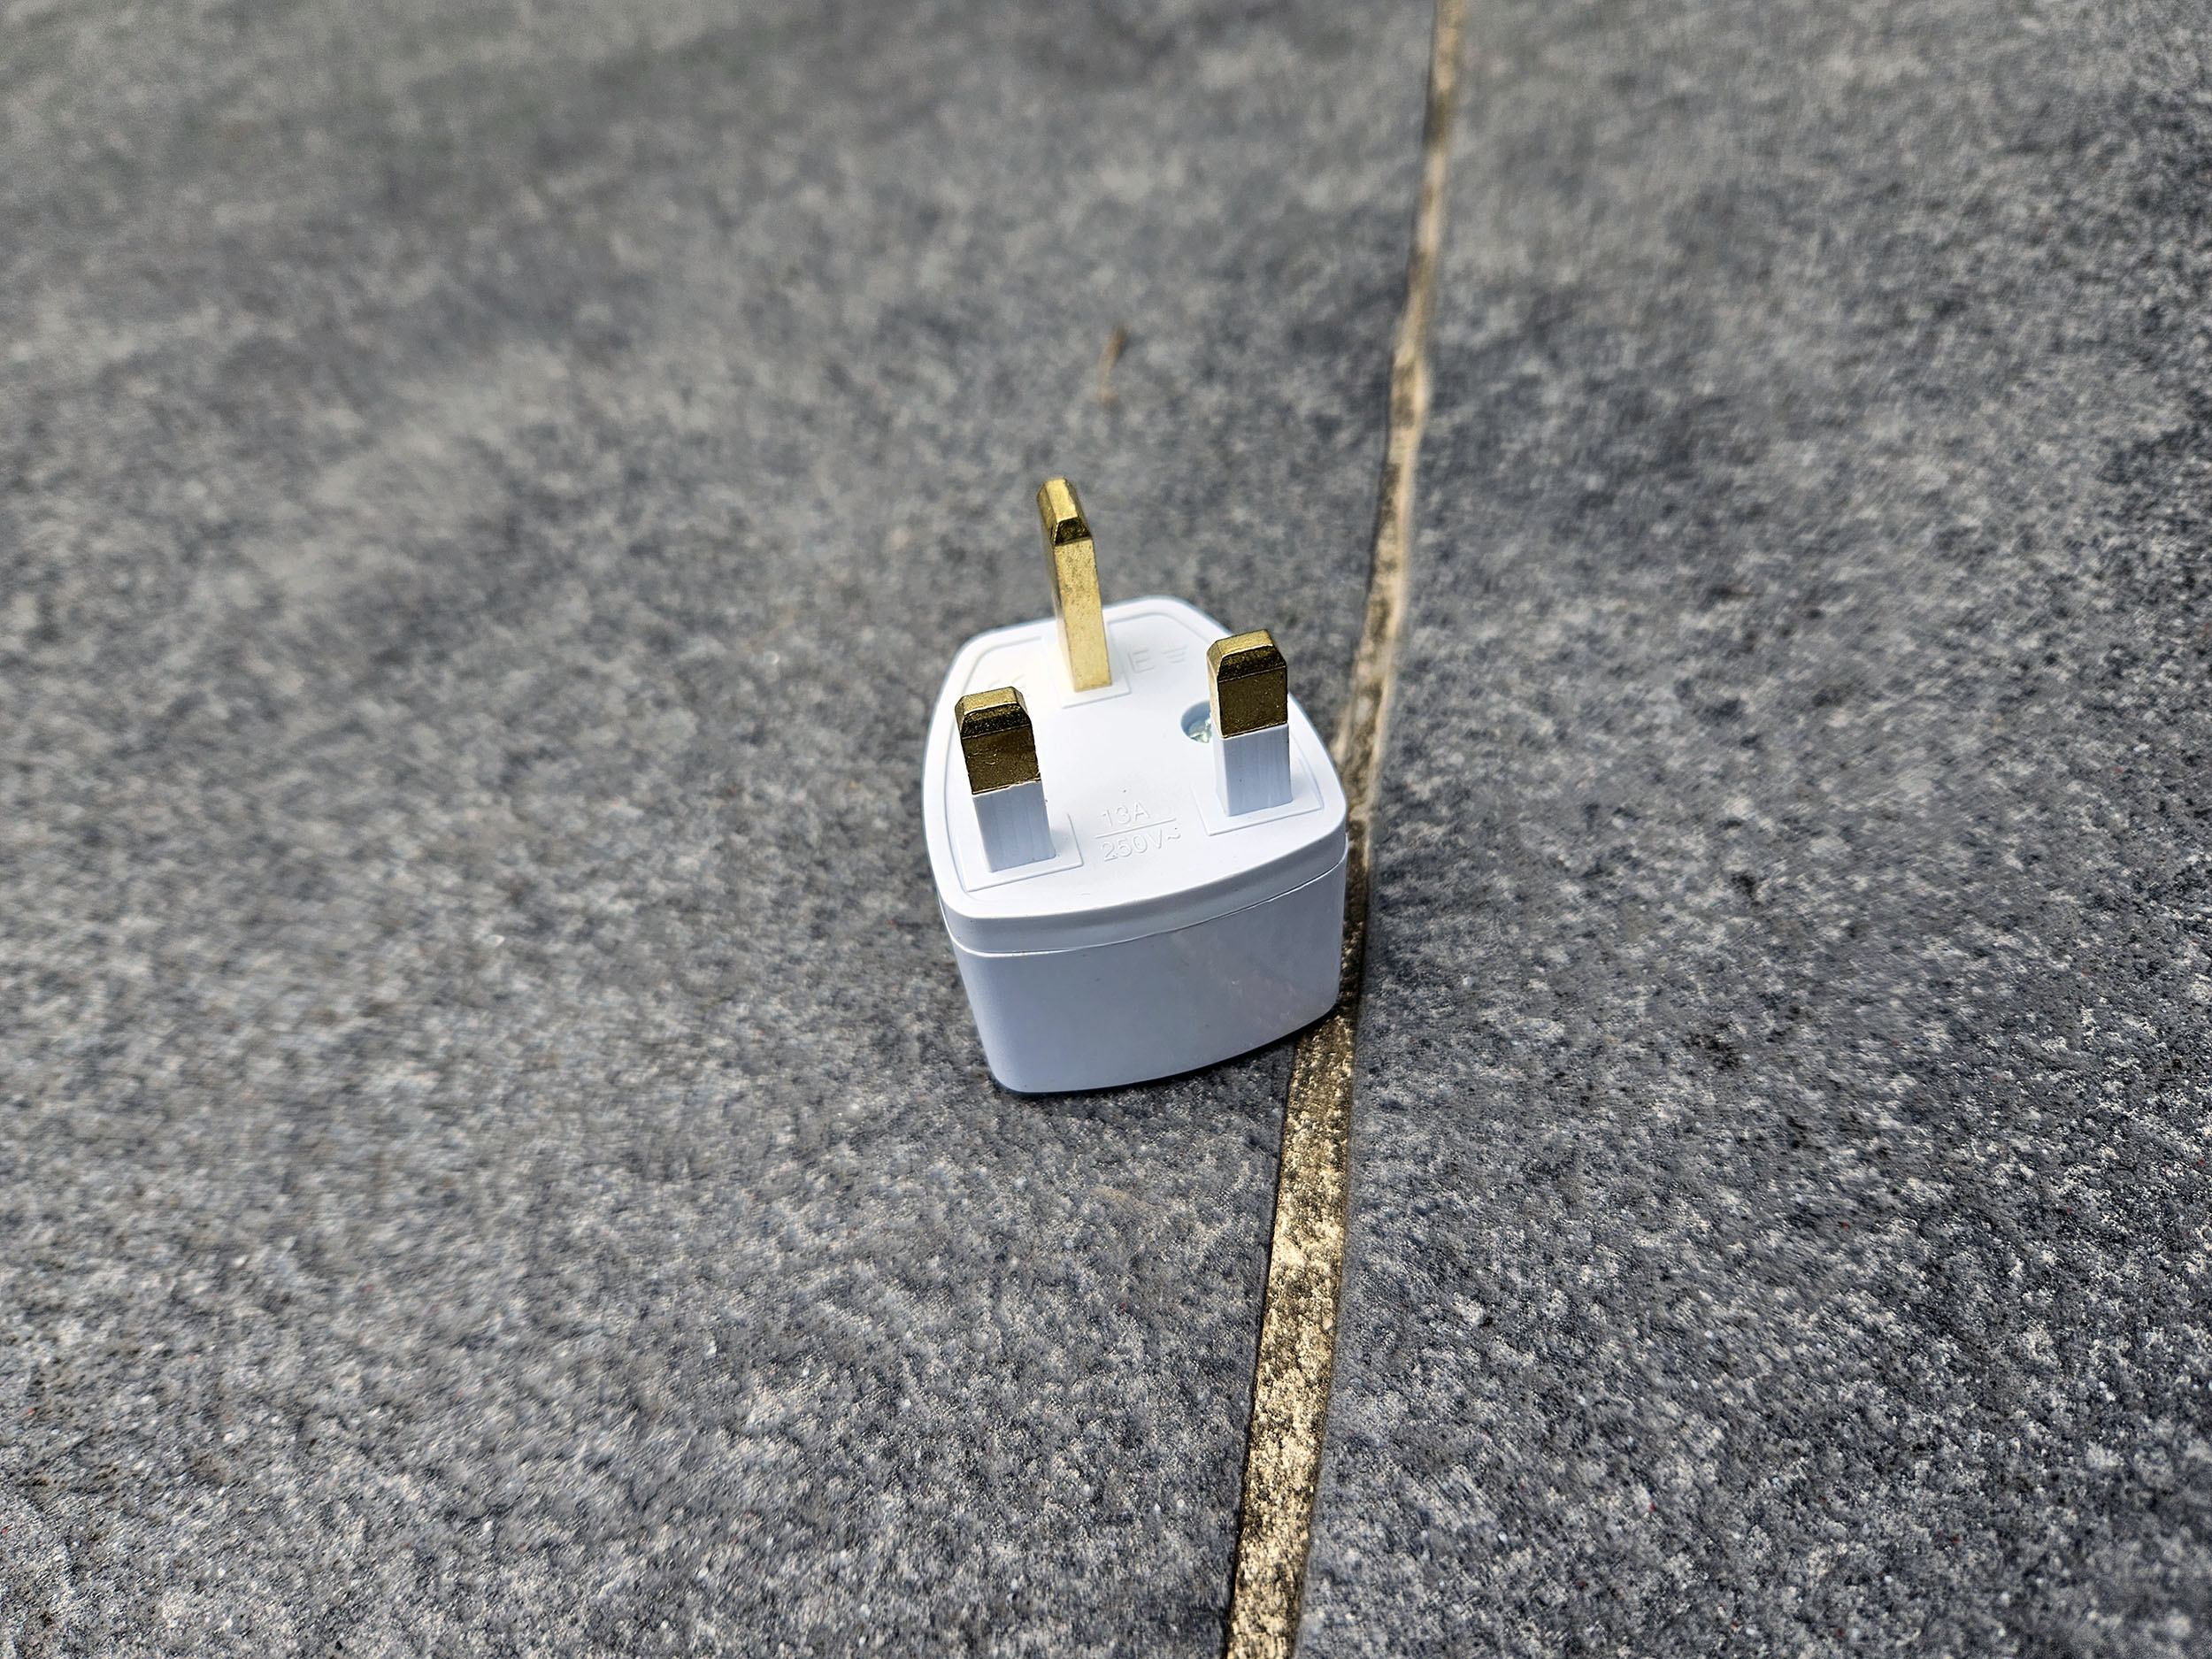
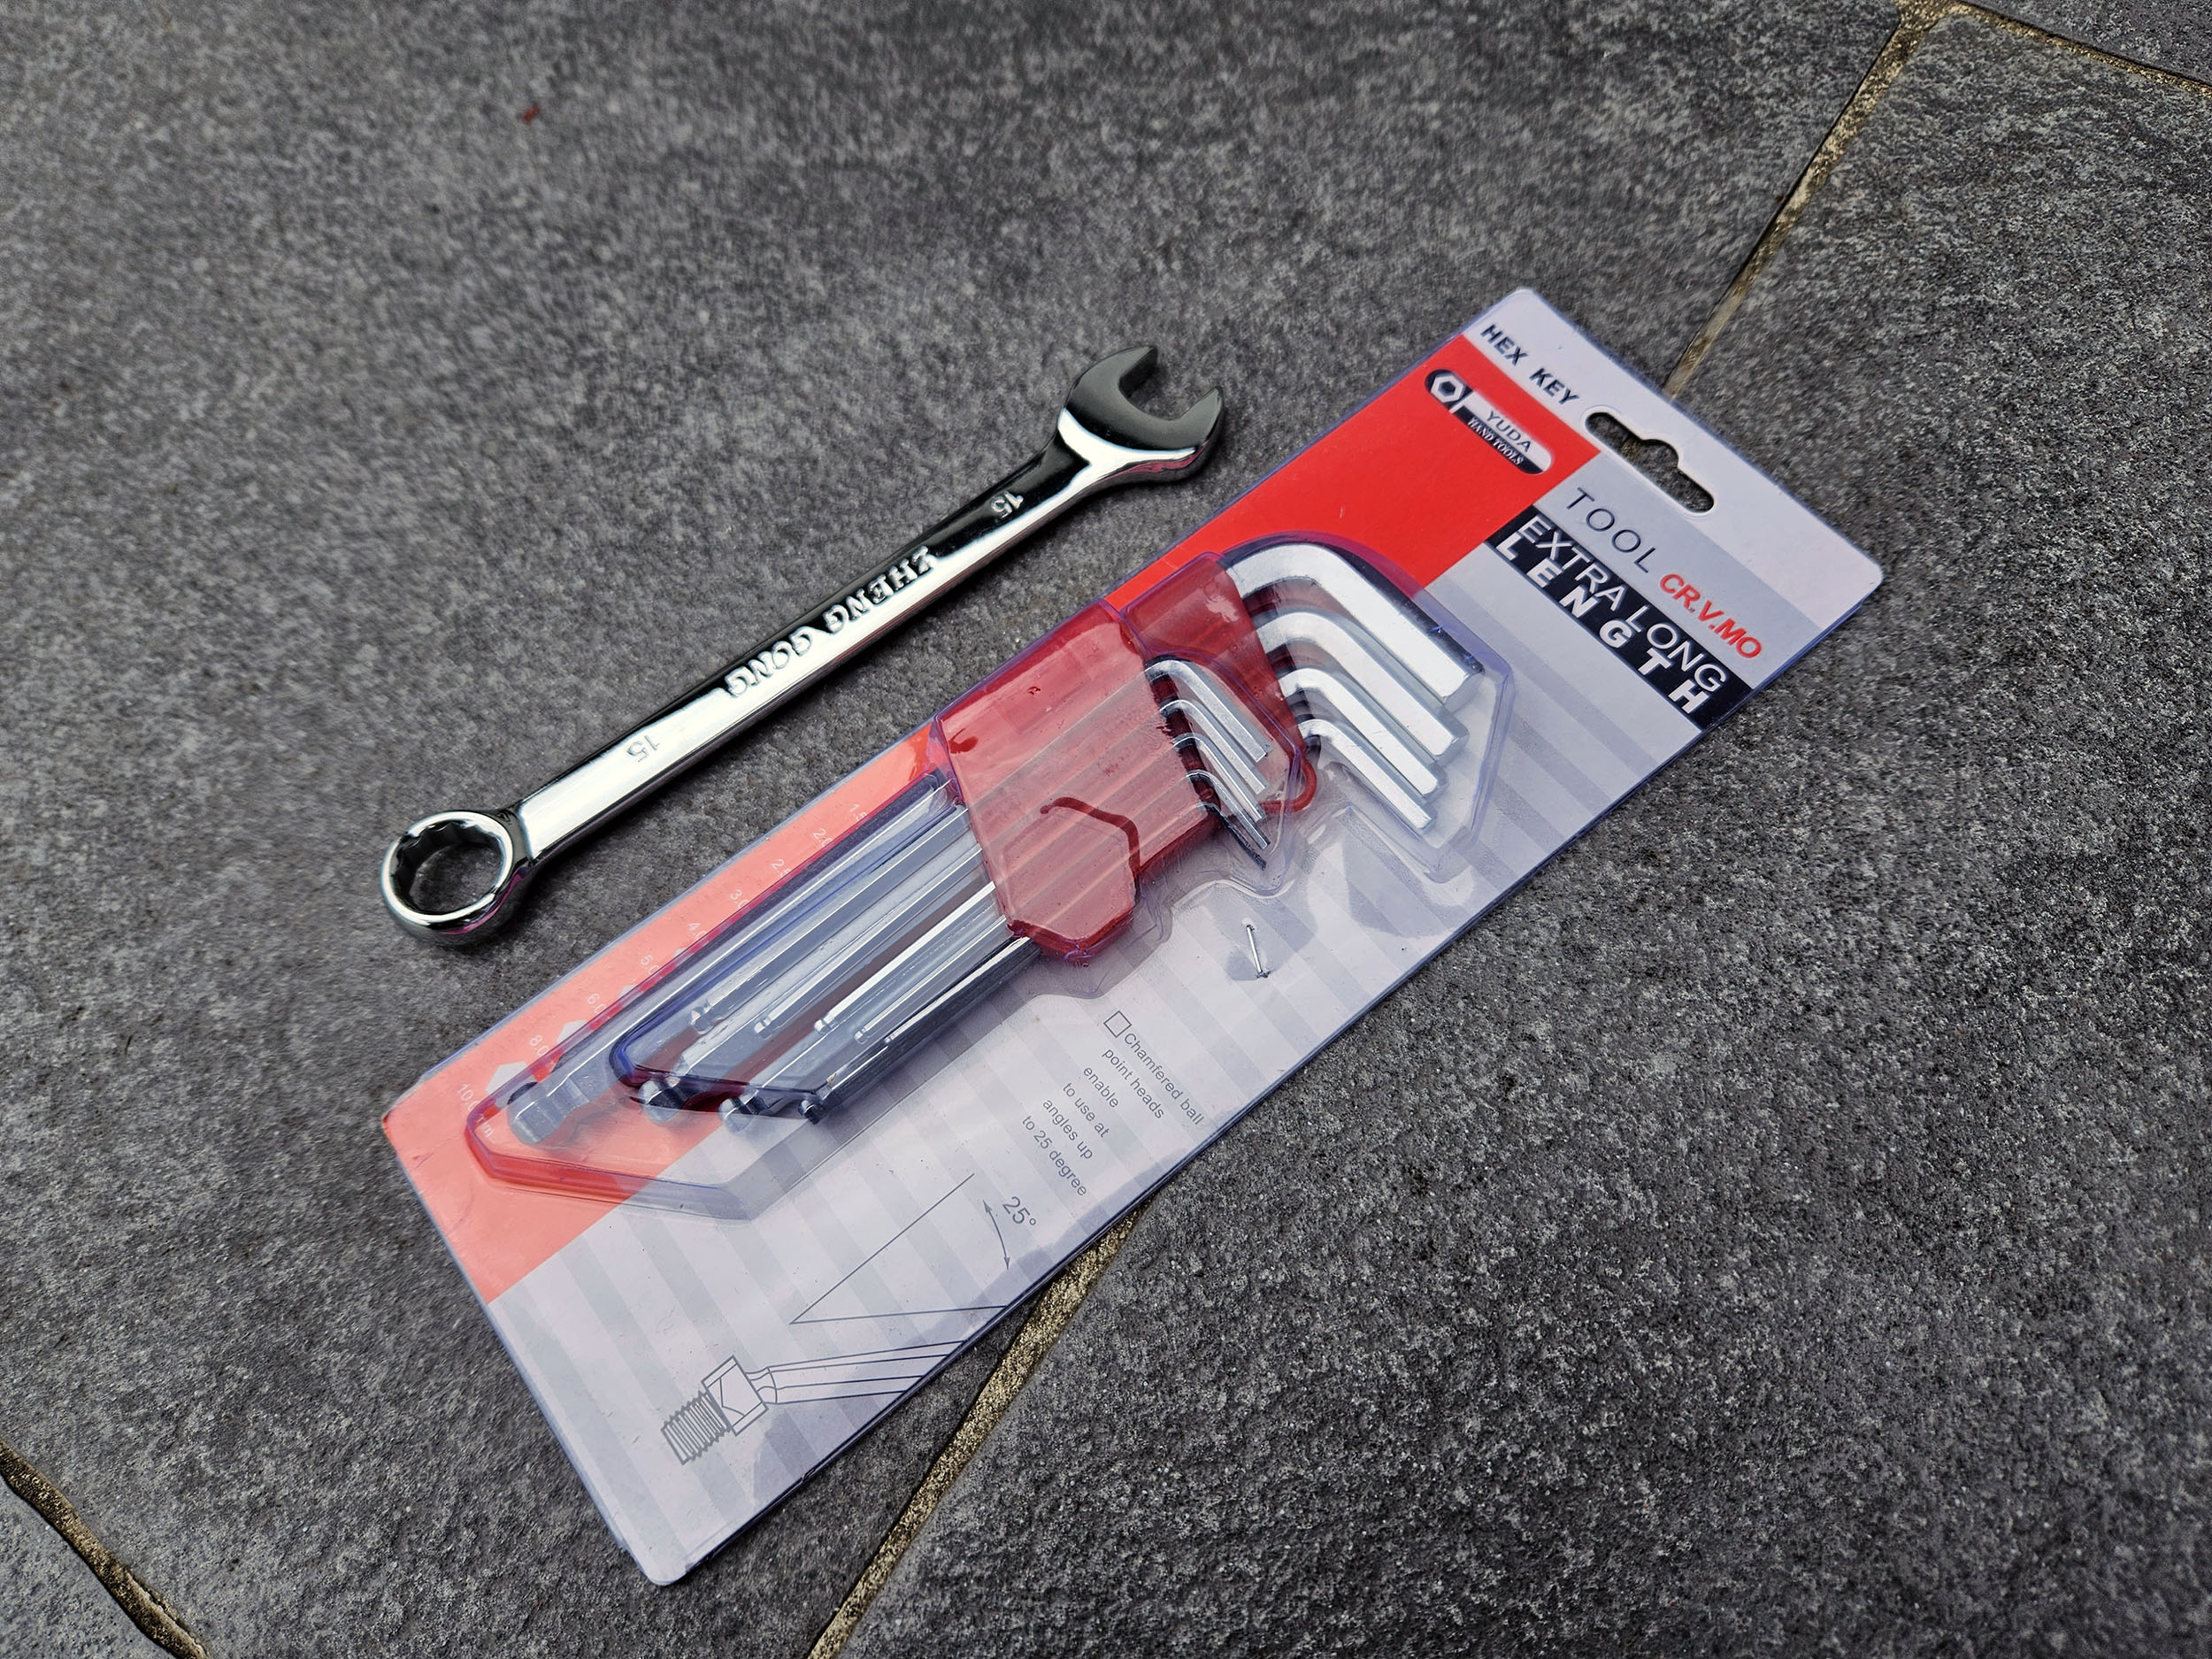
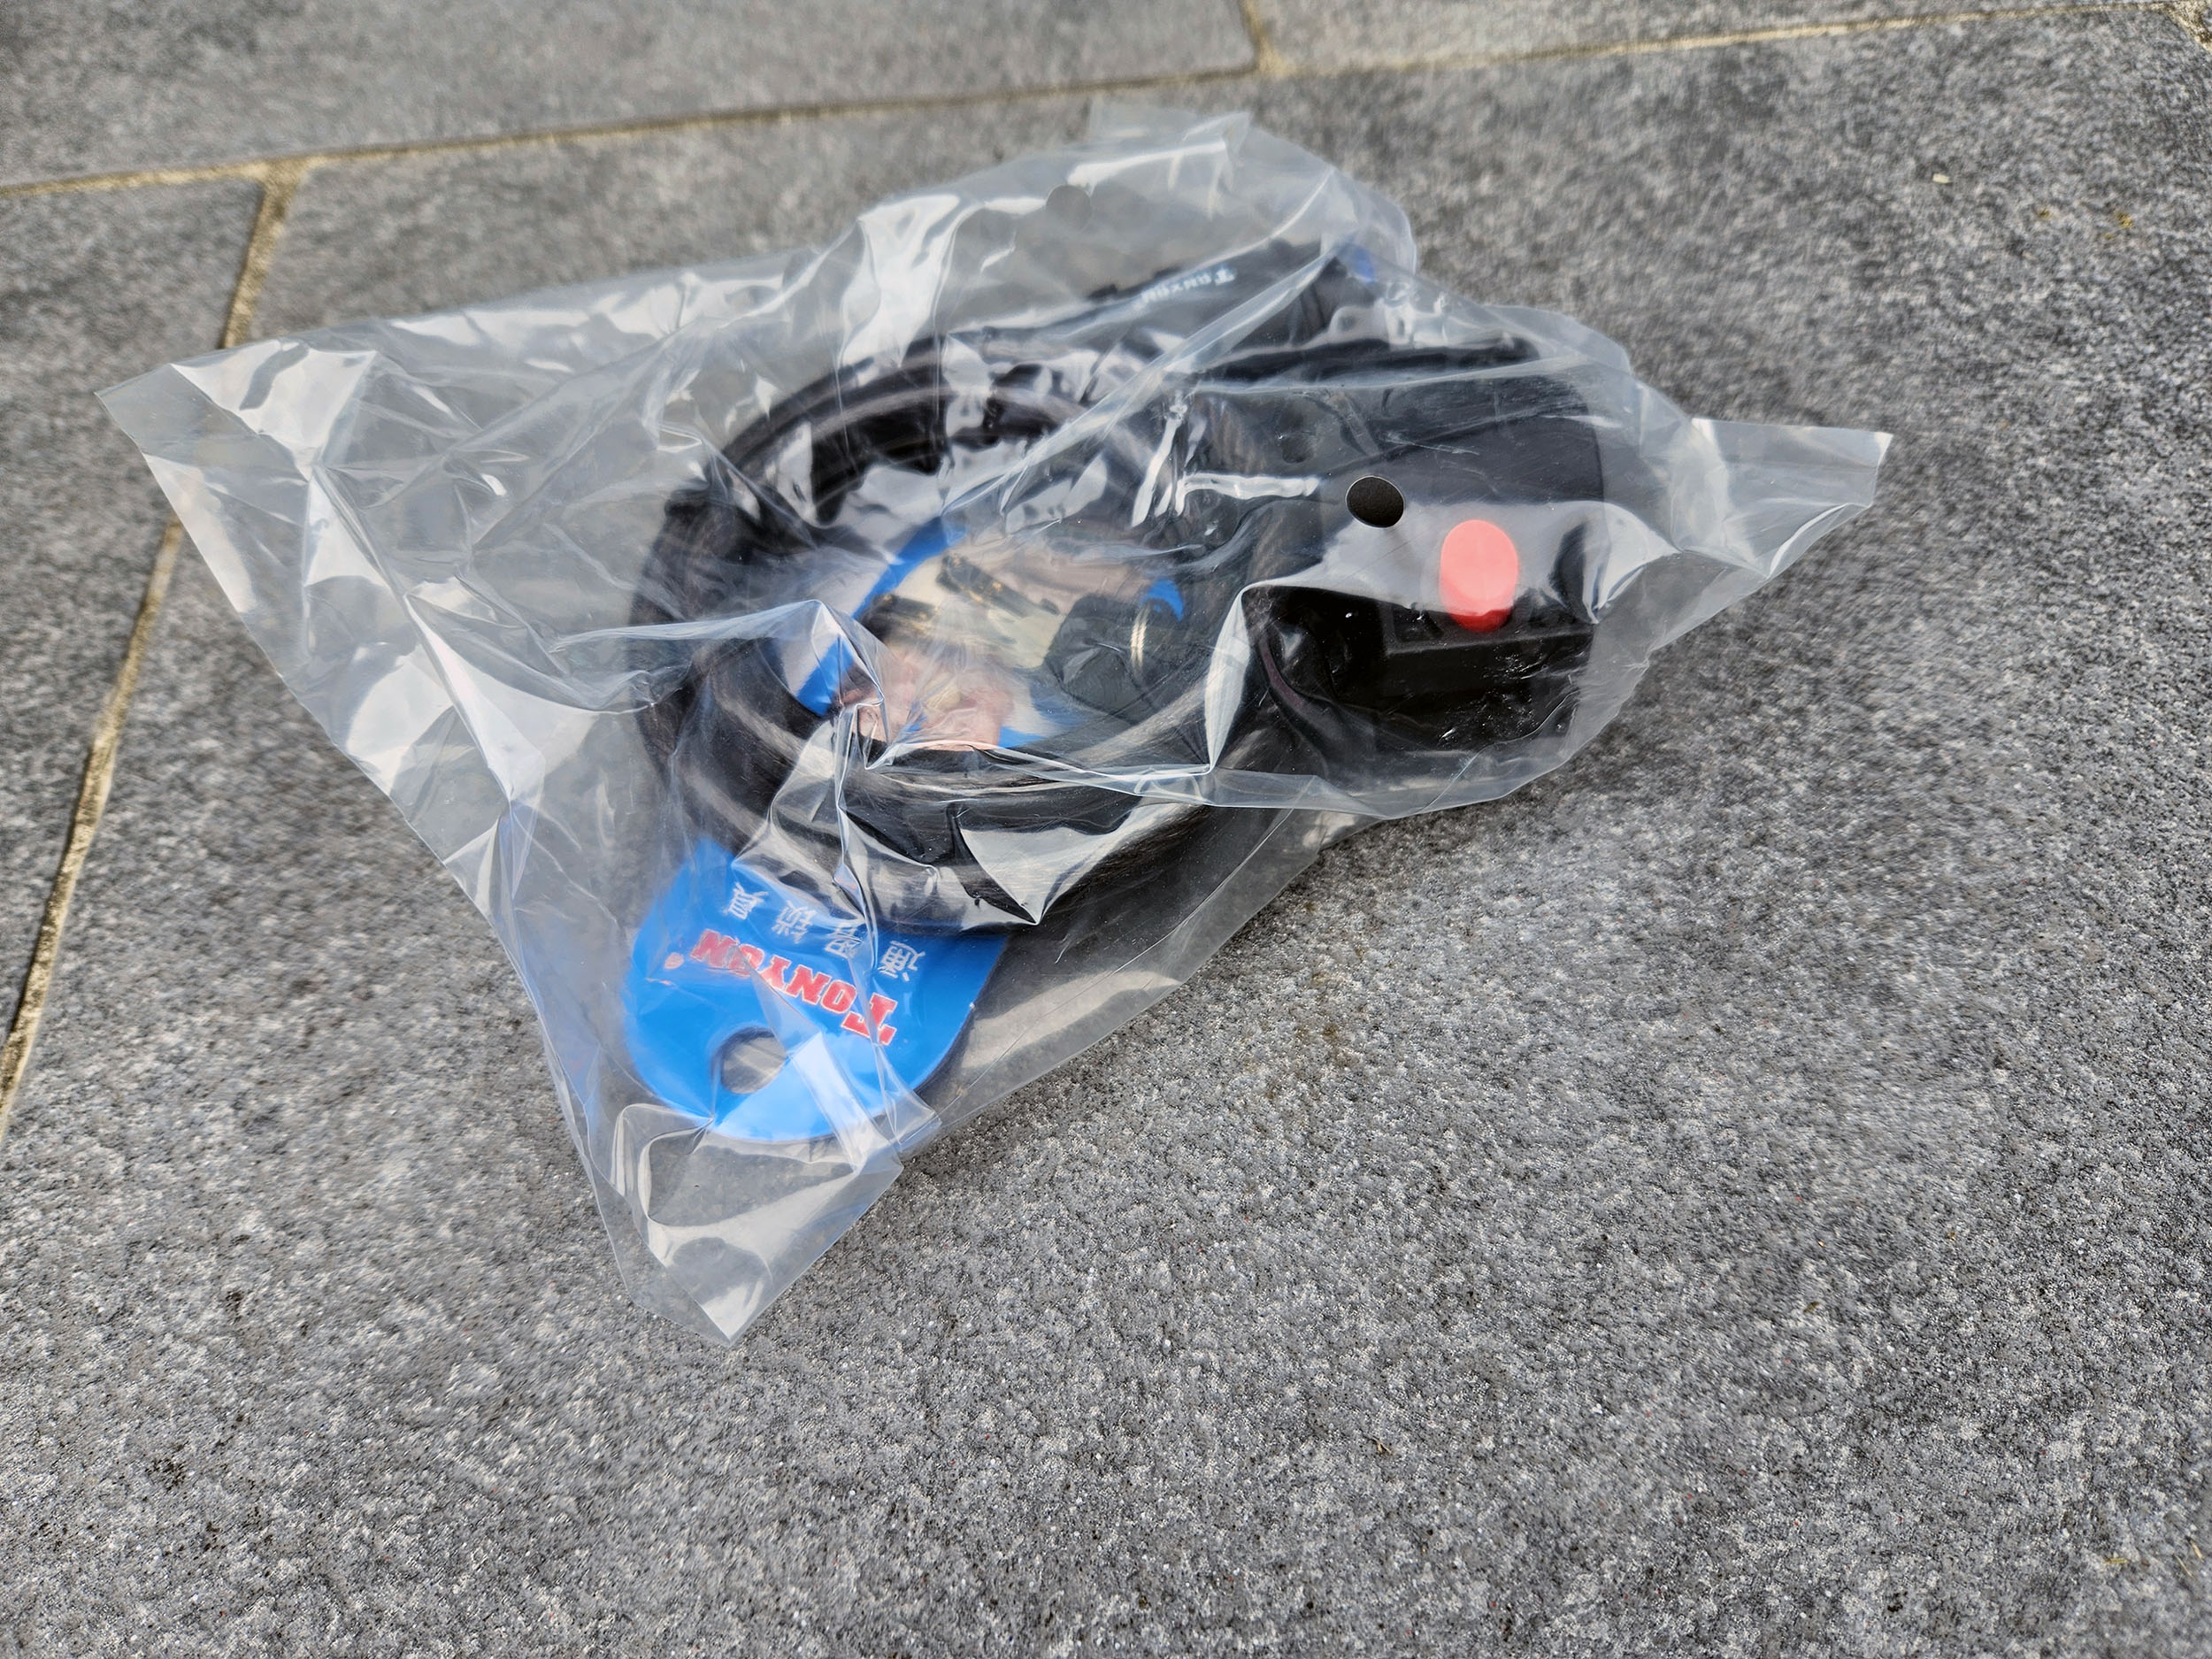
Lankeleisi is generous with his bikes. The bike is equipped with all the necessary lighting, a stand, two mudguards. The accessories box contains a charger for the battery as well as an English plug, keys to mount the bike, a pump and a lock with keys.
This is not a bike designed for going shopping, so I don't think a basket or luggage rack is an option.

Settings/Console
The console on the handlebars allows you to configure the bike, there are 8 different types of settings but some should ideally not be changed.To access the settings you must simultaneously press the + button and the - button at the same time for several seconds. The screen will then display the parameters each time with the letter P followed by a number. There are 8 parameters, so the menus go from P1 to P8. You can use the + or - button to switch between settings. To modify the chosen parameter, you must use the i button.
Please note, the parameters described in the manual are not the correct ones, they are the parameters for another type of bike. I will make the correct manual available to you later in this article.
P1: choice of unit of measurement system (metric or imperial).
P2: choice of wheel diameter, curiously mine was configured to 29 inches, the speed display was therefore distorted. You must choose 26 inches.
P3: choice of maximum speed, default 25 km/h but unclampable.
P4: zero start choice
P5: choice of type of assistance (electric or assisted)
P6: choice of starting assistance level
P7: controller limitation
P8: choice of type of assistance: 100% electric, assisted or both
P9: Assist sensitivity adjustment
You can also set a password to prevent someone from turning on your engine without your knowledge. If you use this feature, remember your password because you will no longer be able to start the engine without this password.
Road test
I was late for my test drive due to the weather. The rain has been falling for months and sunny days are rare so I go out whenever I can. Since I also have to prepare a video, I need good conditions to be able to continue this test.Power test
This bike is limited to 25 km/h in its factory configuration. With this limitation, you never take full advantage of the bike's full power. Acceleration is good thanks to the torque of 70 nm, we reach 25 km/h quite quickly without the slightest effort but I really felt that the bike was as if its momentum was cut off.
By removing the speed limit, the behavior of the bike is very different, it is as if freed from a constraint. I think the power delivered by the engine is not fully exploited when the bike is limited to 25.
Since I cannot ride this bike on public roads at full speed, I did a test on a private road with a length of 195 meters. I used only the accelerator to reach a speed of 39 km/h before having to brake. The acceleration is not as dazzling as the Lankeleisi X3000 Max but that is normal given the difference in power and I find that it is even a good thing because this RV800 Plus is easier to master. With the torque of 70 nm the feeling of acceleration is still quite good and quite linear. I think with a few more meters I could have reached a little over 40 km/h. In theory this bike can reach 50 km/h but with my 100 kg, I think the bike will struggle to reach the last km/h.
Brake test
I made a short video illustrating braking power at 25 km/h.

Commentaires (2)