The Shore RolaTV cabinet is a home cinema furniture unit designed to integrate your ultra-short-throw projector and a motorized screen into a practical and aesthetic setup. We are talking about a laser TV solution because the whole system can fit perfectly into a living room (if you have the space), and once deployed it offers an experience close to that of a television, but with a much larger screen.
I installed the 120-inch version in black, in the self-assembly version, but other sizes and colors are available to adapt the setup to your needs and constraints.
Video test
Where to buy
The Shore RolaTV setup is available from NothingProjector for a little over €1500 in its base version (at the time of writing). You can choose to buy the cabinet alone if you already own a projector and a screen, or opt for a bundle including the projector and the screen. This way, you are guaranteed full compatibility between all components. You will also need to choose between a self-assembly version (like mine) or a version where the cabinets are already assembled.Why buy it from NothingProjector?
Best price guarantee for 45 days: if you find a lower price up to 45 days after your purchase, NothingProjector will refund the difference
2-year warranty
30-day return policy
To take advantage of it:
Shore Laser TV / NothingProjector.com (self-assembly version)
Shore Laser TV / NothingProjector.com (pre-assembled version)
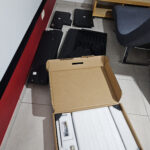
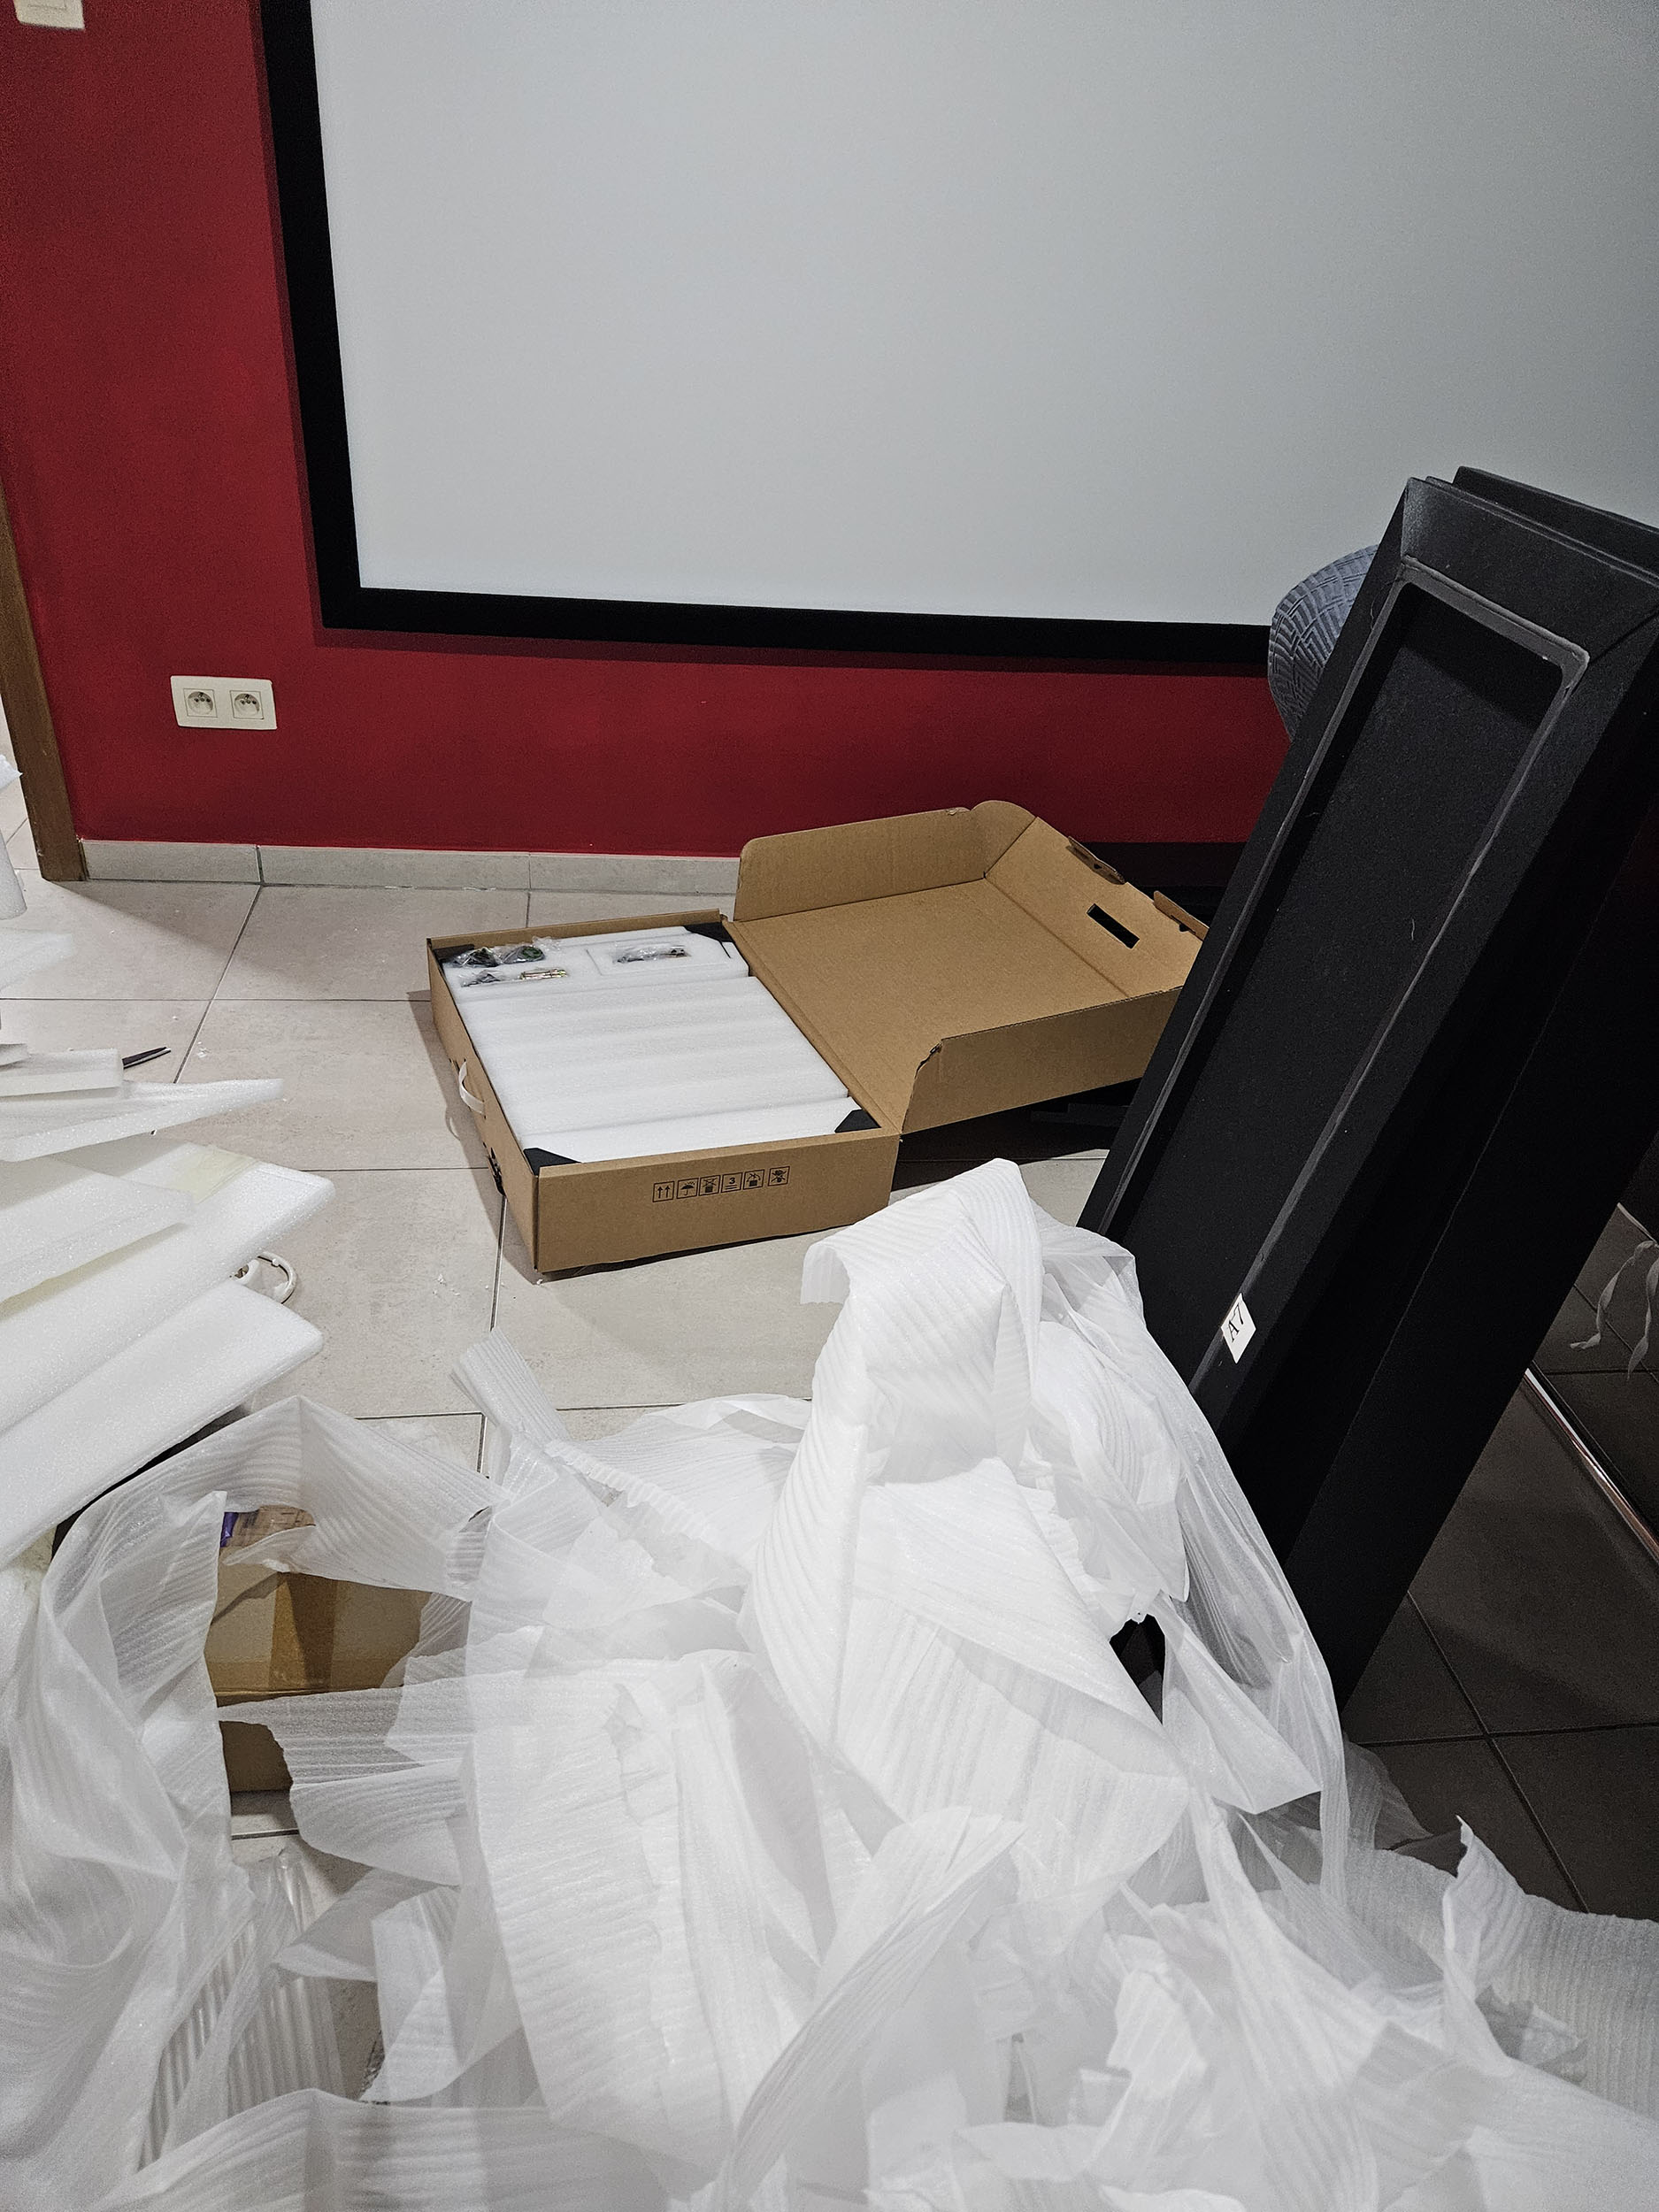
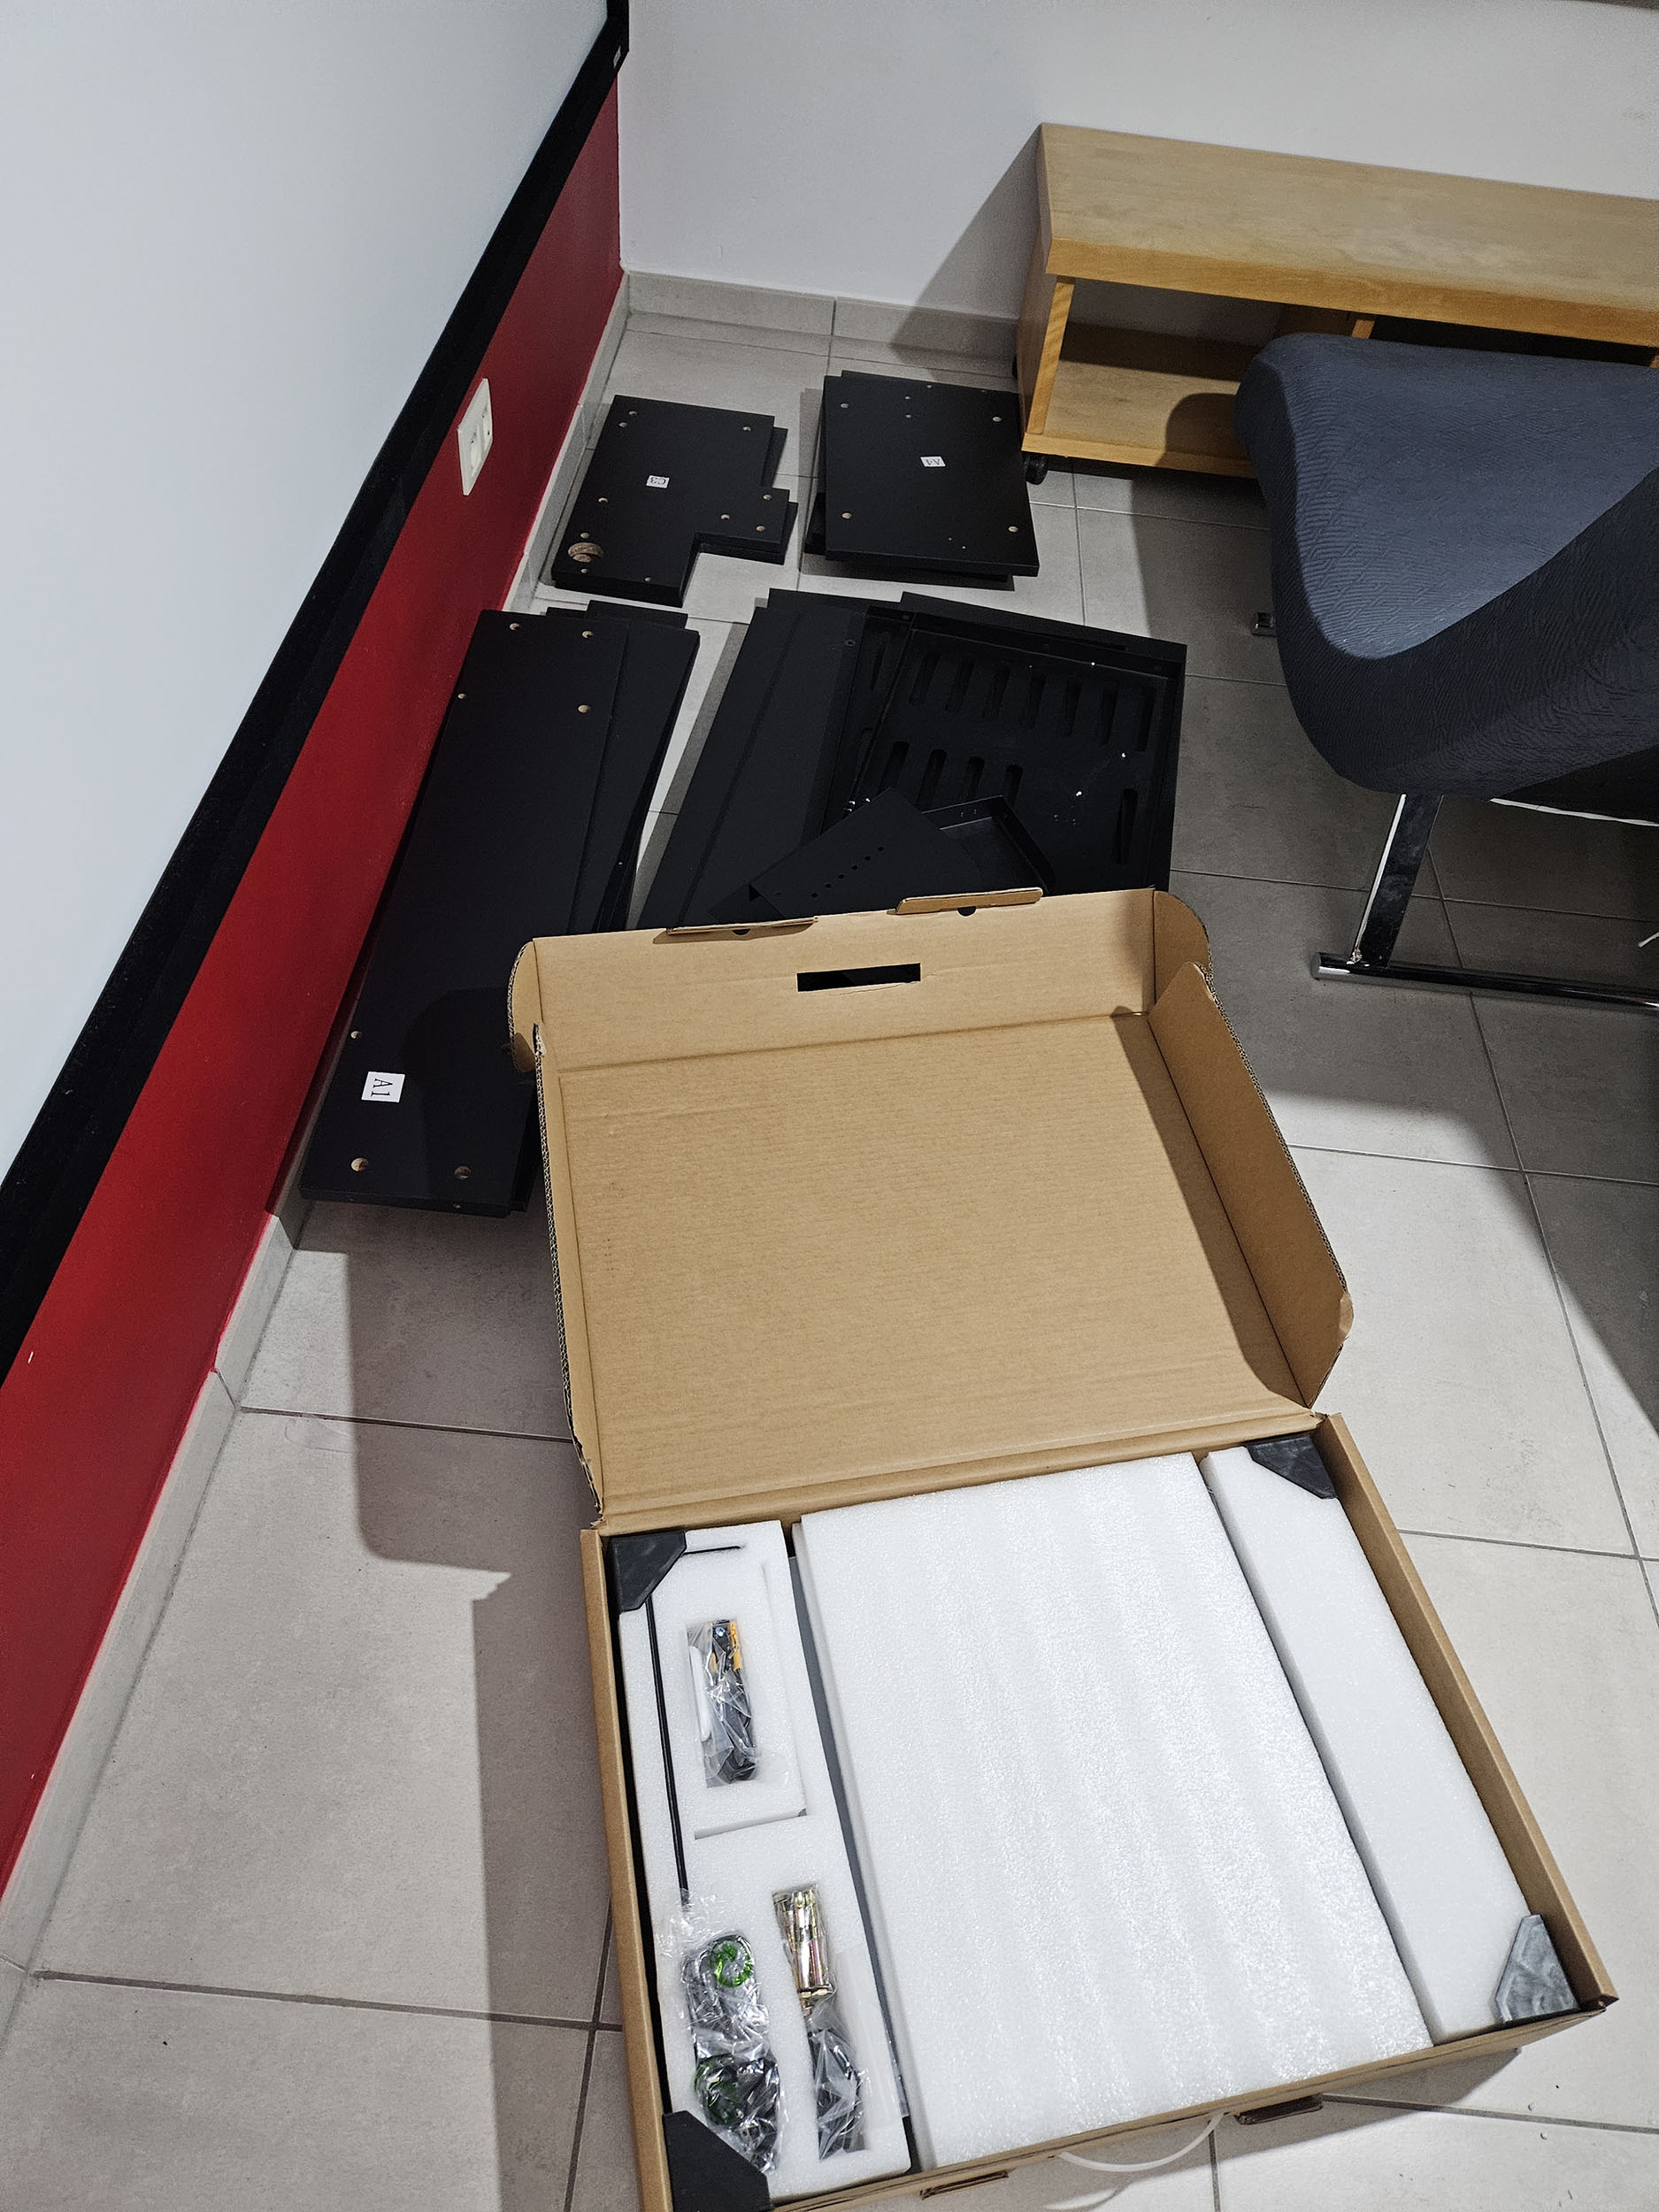
Unboxing
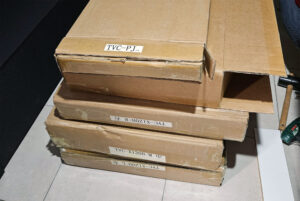 The self-assembly version consists of 5 boxes: 3 for the different cabinets and 2 for the mechanical drawer mechanism. The whole set is quite heavy, but taken separately, each box can be moved without any major issue. DHL delivered the package, and when I saw the crate inside the truck, I wondered how I was going to get it into my house. According to the delivery driver, the whole set weighs over 100 kg, and the crate containing the various boxes is quite large — in fact, too large to fit through my front door (which is a standard size). I therefore had to bring the packages into the house one by one. This is the kind of detail you don’t necessarily think about when buying this type of product.
If you opt for the pre-assembled version, I believe the overall volume will be even larger. One cabinet for the 120-inch version measures approximately 1 meter in length, 60 cm in depth, and 40 cm in height. On top of that, you need to account for the packaging volume.


Screen choice
I used my NothingProjector 120-inch motorized screen with this cabinet. This is a screen I tested a few months ago, and you can find the full review here: NothingProjector 120-inch motorized ALR screen: reviewAssembly
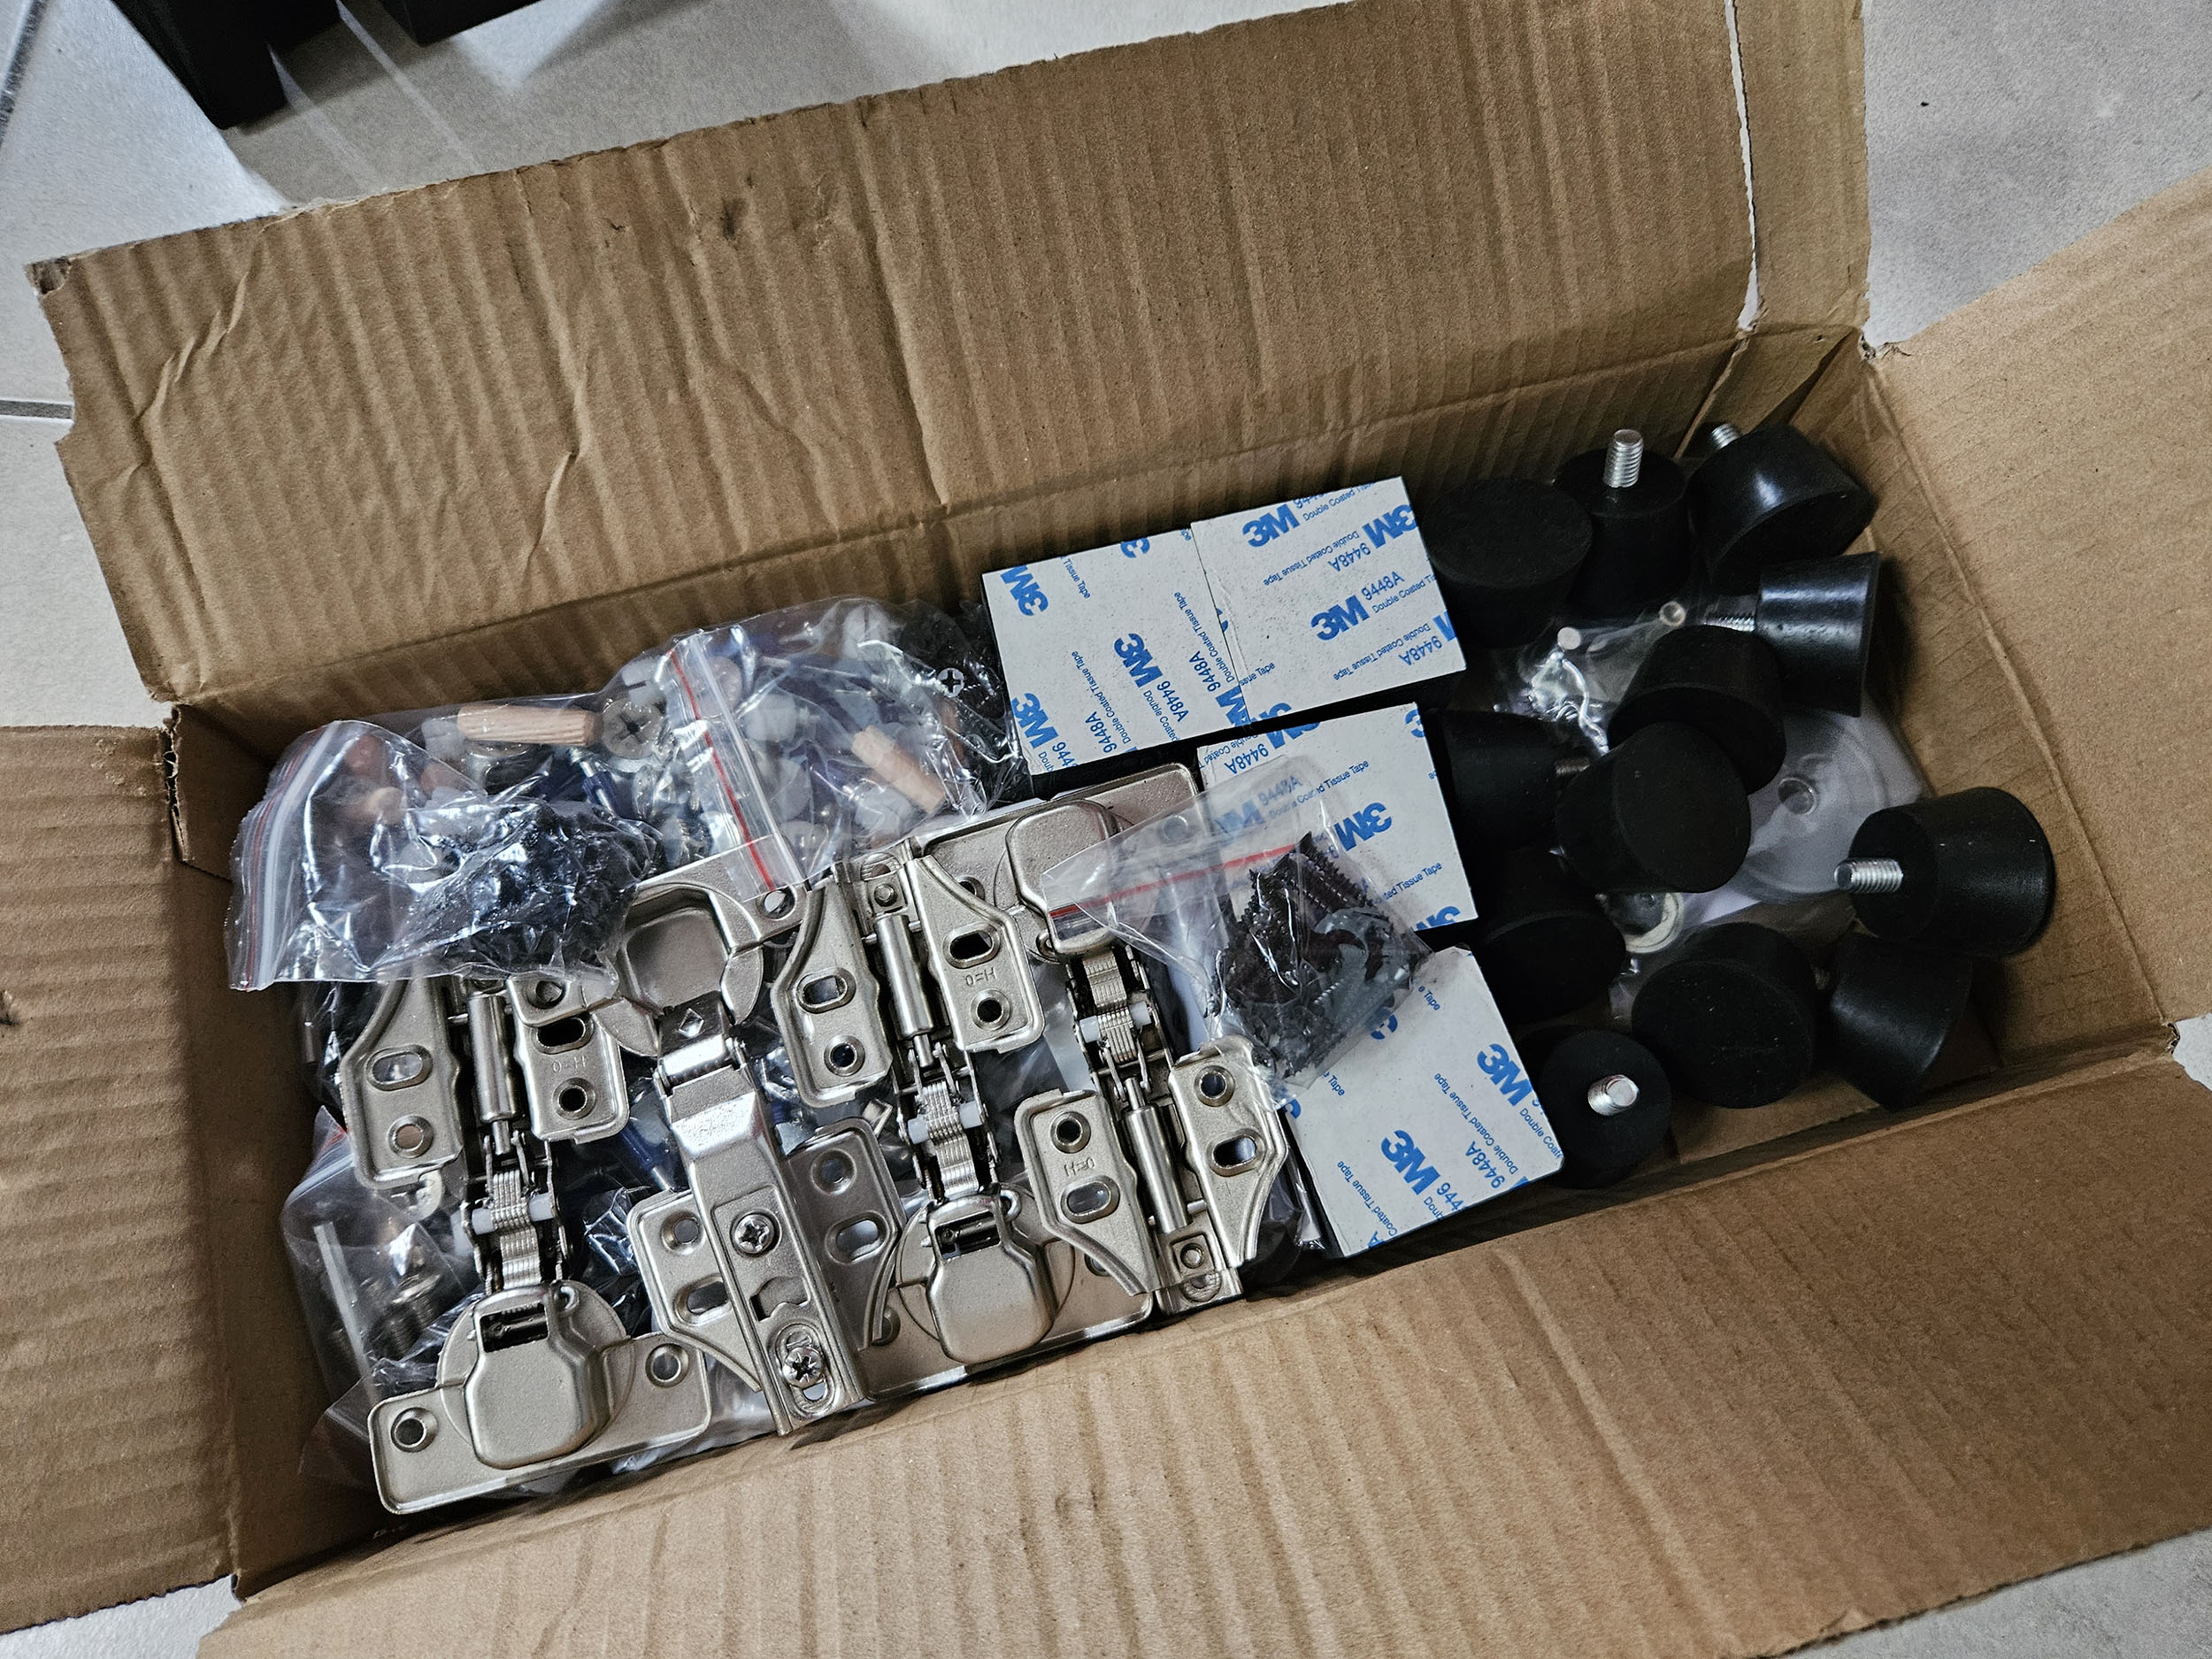
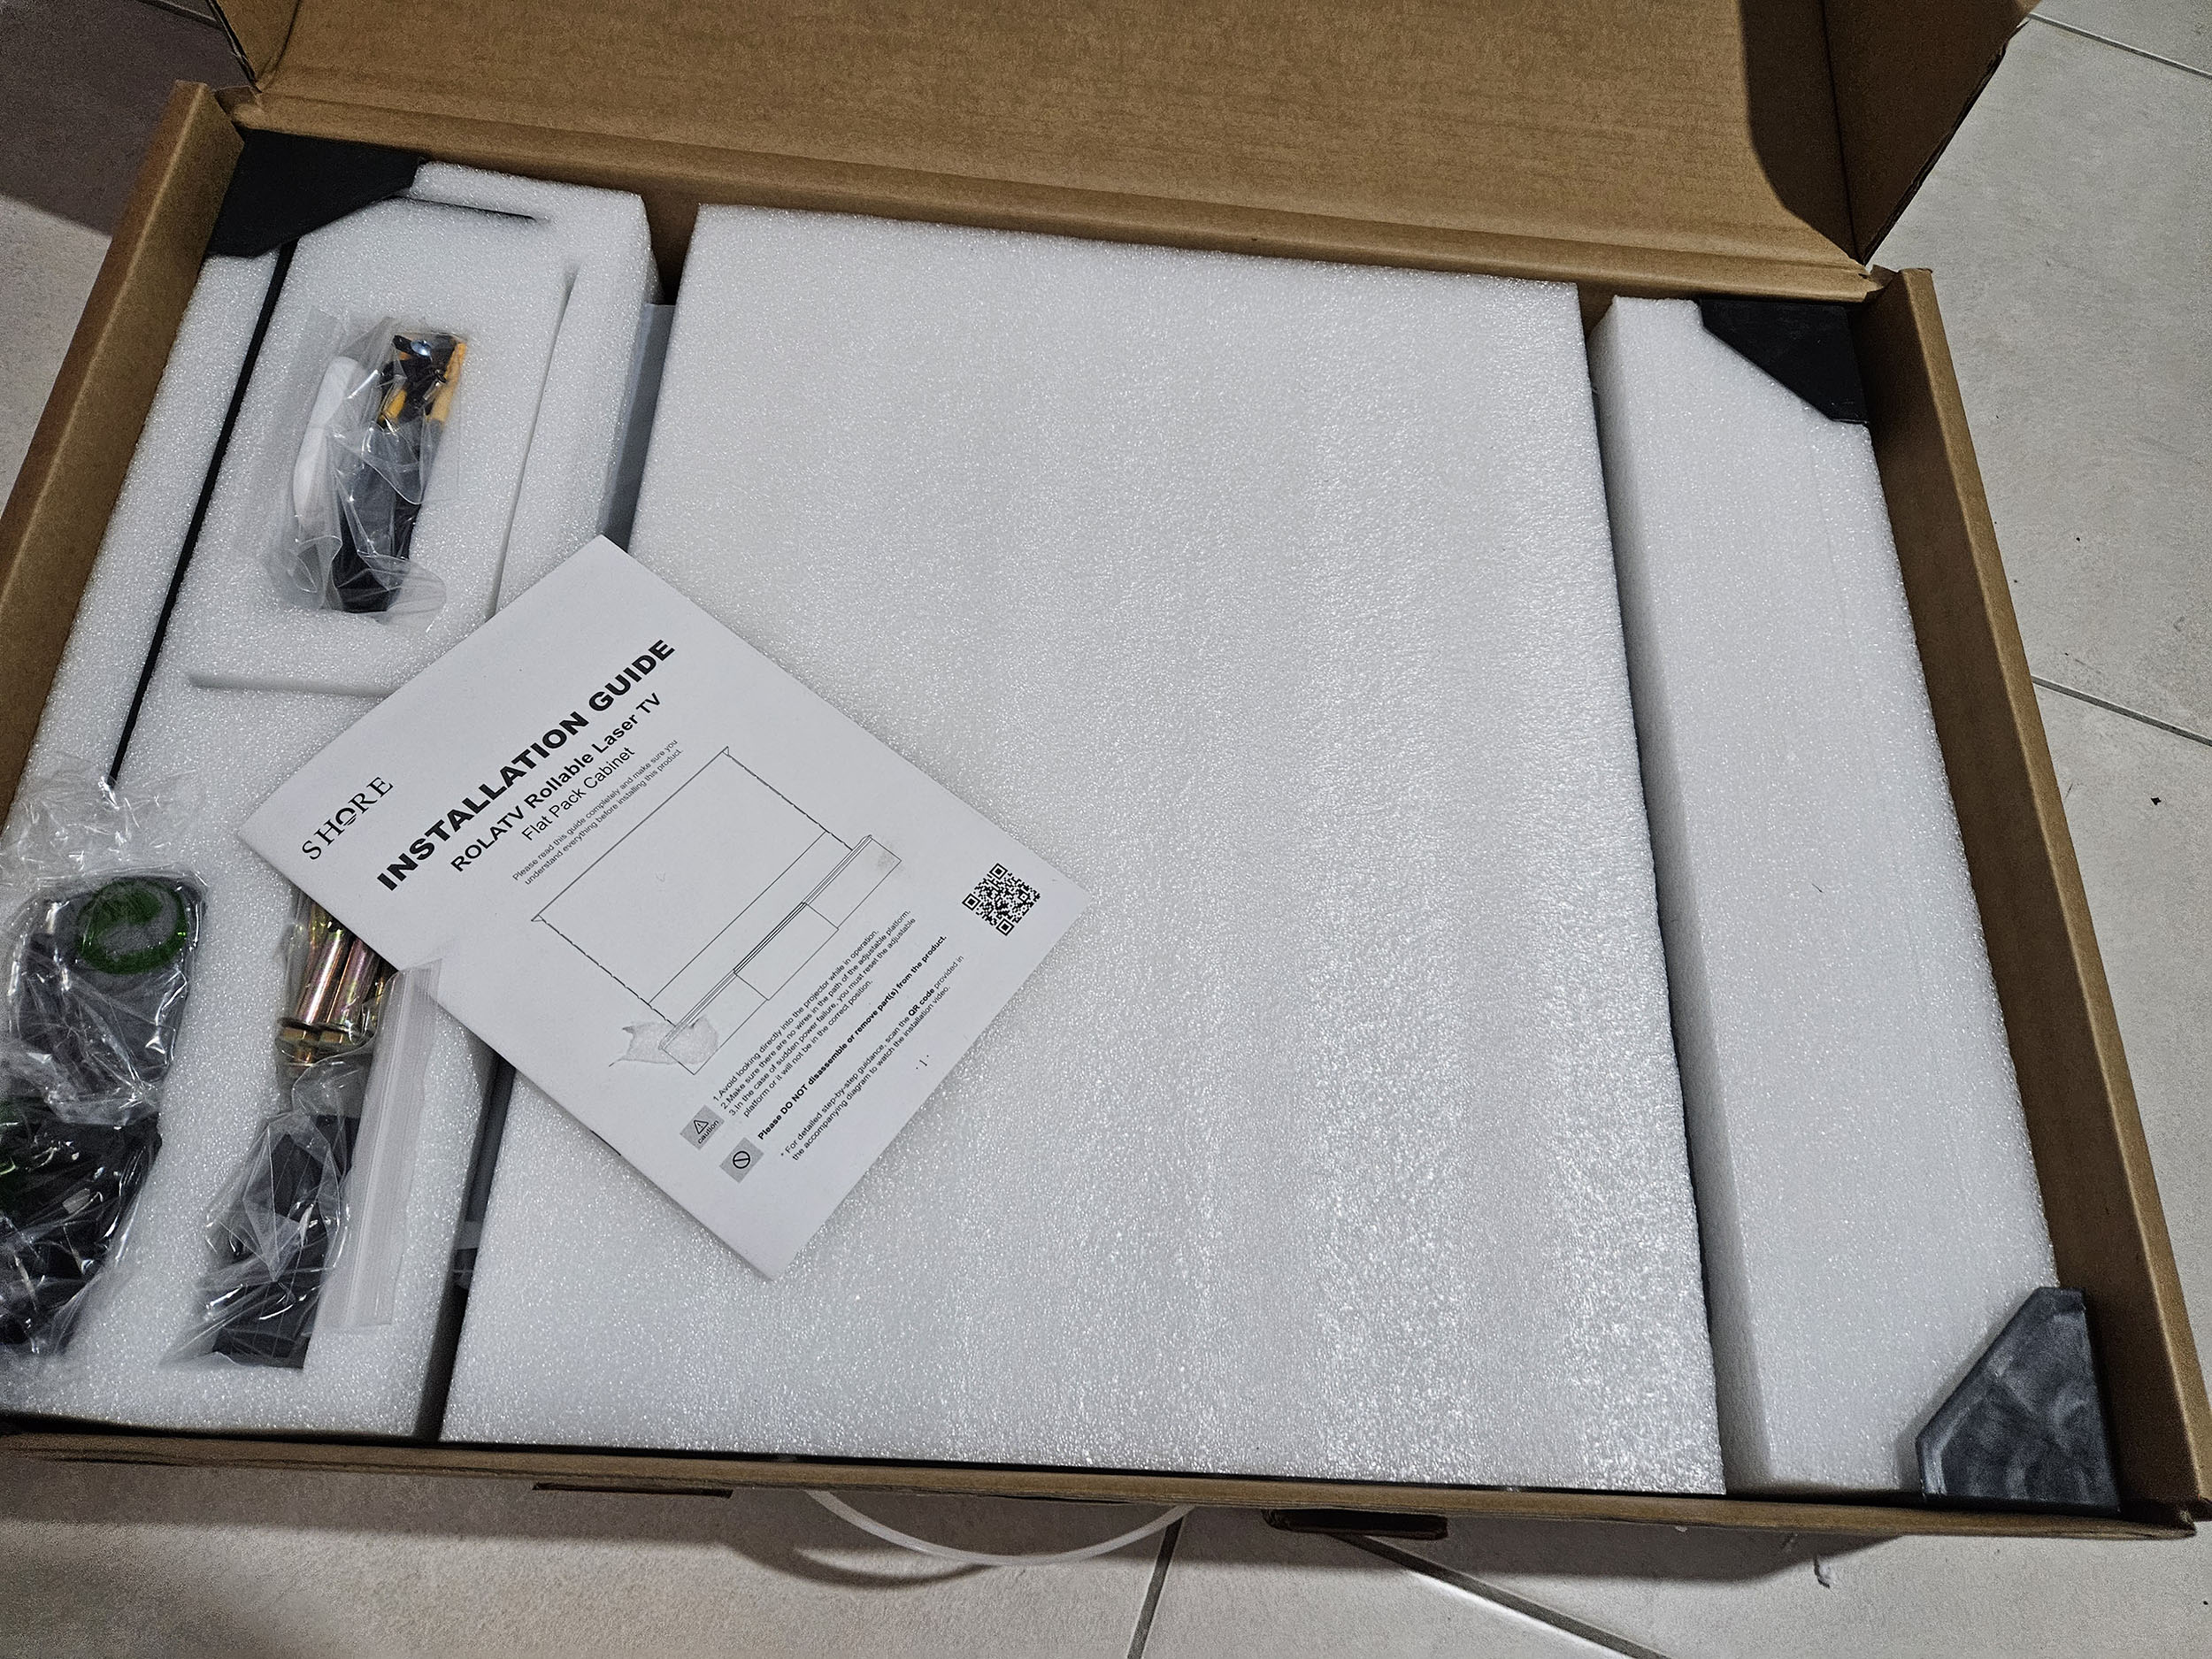
There is no assembly manual in the box, and the QR code that is supposed to provide access to it does not work. Below, I am adding an explanatory assembly video: There are a few differences between the cabinet I assembled and the one shown in the video. The hardware is not always the same, and the hydraulic lever for the cabinets is mounted differently. Nothing insurmountable, but you sometimes have to figure things out. I do recommend carefully checking all fixings at every step to ensure the most precise assembly possible. For the cabinets themselves, this is not a major issue, but when you install the mechanical drawer, you will be doing it somewhat blindly. By that, I mean that the height choices you make for the projector may not be correct, and you will not realize it until the projector is installed in the cabinet. Once everything is assembled, this type of adjustment becomes more complicated. Therefore, if you have a Formovie or Hisense-type projector, I recommend fixing the second level of the drawer to the fourth level from the floor. I realize that I made a small mistake in my video by saying it was the third level, but it is actually the fourth.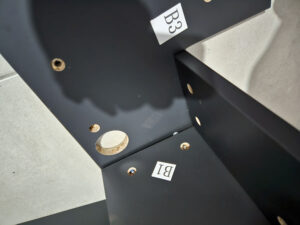 I also strongly recommend thinking carefully about cable routing, because once assembled, the cabinet will be difficult to move. It is heavy and has anti-slip feet. Each cabinet has a cable opening at the back to route everything toward the central cabinet. I am not entirely sure this is the best idea, because accessibility in the projector cabinet area is not very good.
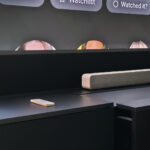
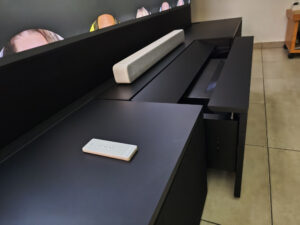
I placed my power strips in the side cabinets and routed the power cables to the central cabinet to avoid cluttering the back of the projector. With this setup, I have three power cables running from the right cabinet to the central one (projector, drawer, soundbar) and one power cable connected to the outlet at the back of the cabinet. The screen is placed on cubes that allow cables to run underneath it along the entire length of the cabinet.
To adjust the mechanical drawer, you can use either the remote control or the buttons located at the back of the drawer. The buttons at the back are difficult to access, and the remote control was not working because it was no longer synchronized with the drawer. To re-synchronize it, you need to cut the power to the drawer and then turn it back on. When it powers back up, you must press the power button on the remote several times until it regains control of the drawer.
Dimensions
 The cabinet is available in different sizes. I have the version designed for a 120-inch screen, which measures 3 meters in length, almost 60 cm in depth, and nearly 40 cm in height. You need to allow space at the back for connections and at the front to open the cabinets. In my projection room, my seats are very close to the screen because I like to be fully immersed in the image, but I had to make a few adjustments to be able to open the cabinets properly.
 Experience
Before having this cabinet, I was using a simple Ikea unit on which I placed the screen, the projector, and a mechanical drawer from another brand. It worked, but it was far from ideal: the screen was not fixed, neither was the projector, and the overall look was not very aesthetic. The main advantage of this cabinet is that it perfectly integrates both the projector and the screen into a secure space, while also offering large storage areas. The fabric covering of the cabinets is designed to accommodate speakers, but you can store whatever you want inside. I therefore gained storage space and a dedicated, integrated solution for both the screen and the projector, which also significantly improves the overall aesthetics — the cabinet looks very good.Obviously, I cannot test a piece of furniture the same way I test a projector: there is nothing to measure and no objective data to provide. However, I can share a subjective impression. The cabinet is clearly of higher quality than an Ikea unit: the wood does not sound hollow, and the lacquer-like finish gives it a more premium look (although it will show fingerprints). If you assemble the cabinet correctly, you will notice that everything fits together perfectly.
This cabinet represents a significant investment, but the experience is far superior to a DIY solution like the one I previously had with my Ikea furniture. My projection room finally looks like a proper setup, and no one is going to bump into the cabinet or the projector anymore. I only added a soundbar on top of the cabinet. The sound diffusion through the cabinet works well, but I wanted to give a little extra boost to the projector, which has more limited audio power.
Conclusion
This Shore RolaTV cabinet can potentially solve many storage issues in your home cinema setup. However, you need to be aware of several factors to ensure you make the right purchase. First, there is the overall size and footprint. Check all measurements three times against your room dimensions, and leave a safety margin, especially for cable routing and cabinet opening. Then, think carefully about cable management, because once everything is assembled, making changes will be more difficult. Choosing this type of cabinet is a long-term decision, so everything needs to be planned from the start.If all these conditions are met, the experience provided by this cabinet is truly excellent, to the point where it can easily take pride of place in a living room without exposing equipment or cables.
If I had to point out a few drawbacks, I would start with the feet. I would have preferred a cabinet that sits directly on the floor, because leaving an opening underneath will allow dust to accumulate over time, and since the gap is very narrow, cleaning will not be easy. The feet are also anti-slip, which makes final positioning adjustments more difficult. The top part of the central cabinet is made of two panels connected by hinges, and I find these hinges a bit weak. Everything then needs to be adjusted very precisely, because at the slightest obstruction, the drawer will not slide back into place properly.

Commentaires (8)